FLIR Cloud Client Software: FLIR PC-NVR installation and setup
FLIR PC-NVR is software bundled with the FLIR Cloud Client software download. It is a completely separate software, and one does not require the other to function.
FLIR PC-NVR turns the computer into an NVR and will use your hard disk drive (HDD) on your PC to store recorded video.
IMPORTANT: If you install PC-NVR and want to remove it afterwards, you must uninstall FLIR Cloud Client software entirely and re-install it with the PC-NVR option not selected. Uninstalling FLIR Cloud Client will require the administrator password. If you do not have this password, you must contact technical support for assistance in recovering your password.
The following instructions require you to access your system using the FLIR Cloud Client software and a PC.
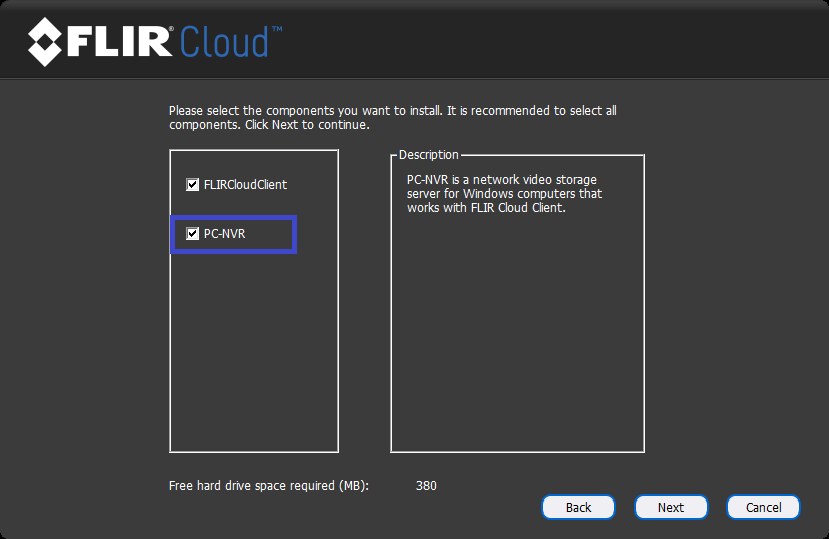
REMINDER: FLIR PC-NVR can be installed while installing FLIR Cloud Client. However, if it is not initially installed, FLIR Cloud will need to be uninstalled and re-installed to install FLIR PC-NVR at a later date.
Prerequisites:
- Ensure FLIR Cloud Client software and FLIR PC-NVR are downloaded on your PC.
- Record the device ID and IP address of the camera or DVR / NVR system you want to add to PC-NVR.
- Ensure your PC is connected to the same network as your DVR / NVR system.
- Manually add your camera or DVR / NVR system to FLIR Cloud Client software
To add a channel from the DVR / NVR in FLIR PC-NVR:
-
Launch FLIR Cloud Client software on your computer, then click PC-NVR.
-
Click the Plus icon (
 ) to open the Add Channel window.
 -
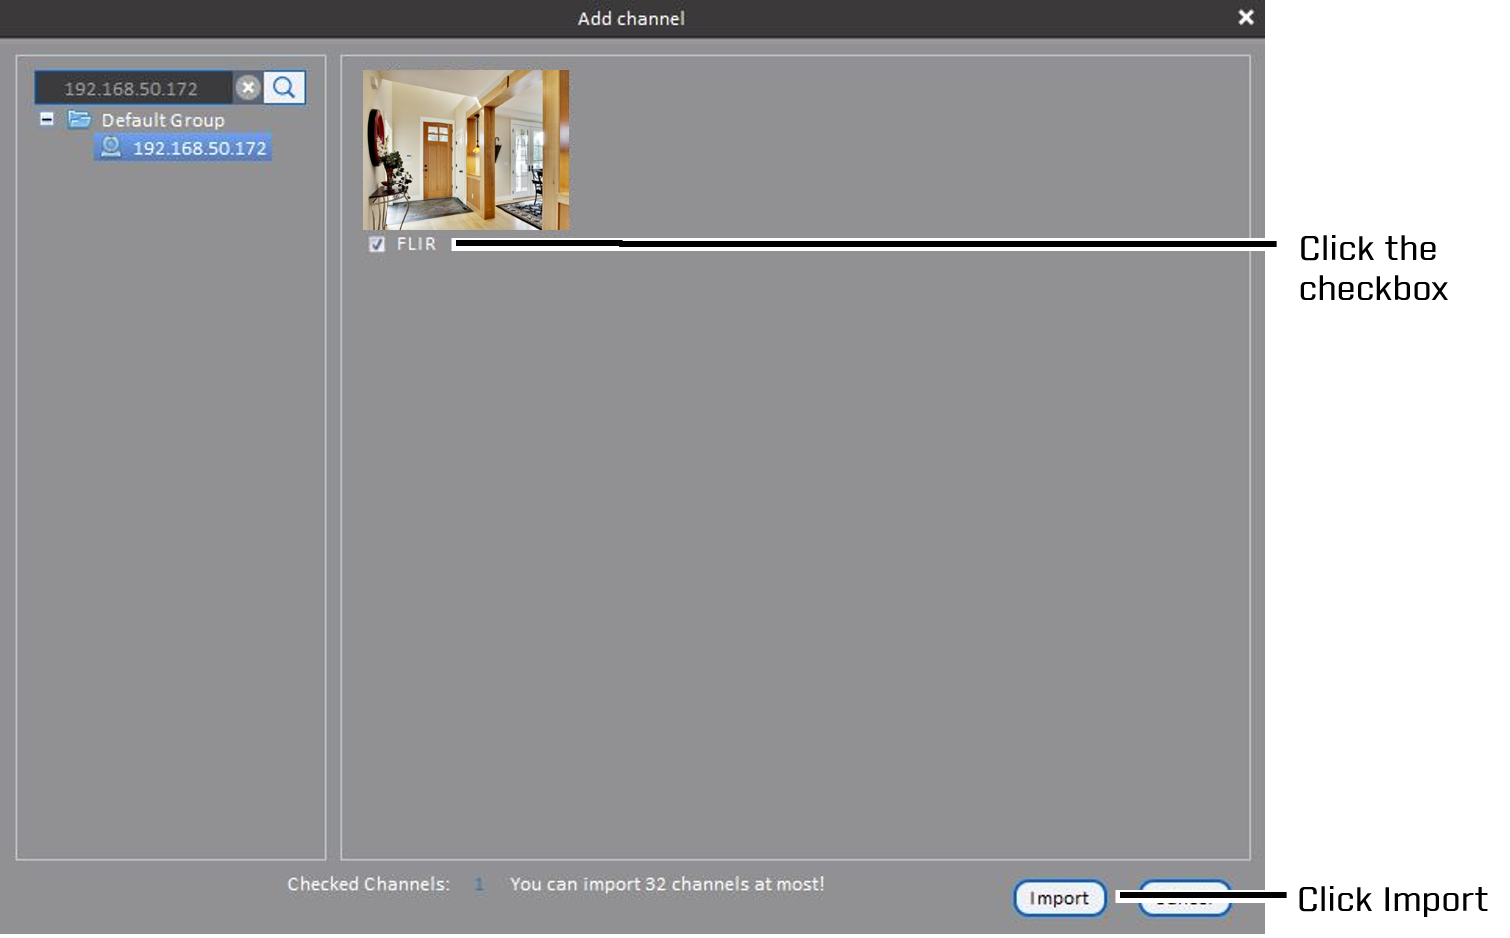
Enter the device ID or IP address of the system you want to add.
-
Select the channel you want to add using the checkbox, then click Import.
Once you have added the channel, you can configure your hard disk drive (HDD) settings for your PC.
To configure your HDD settings:
-
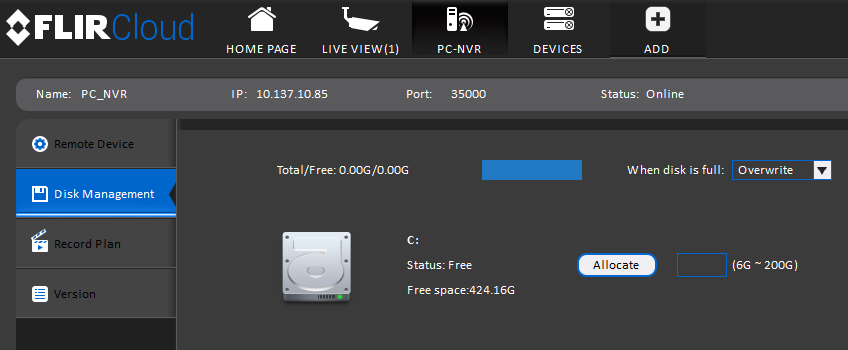
Click PC-NVR > Disk Management, then configure the following:
-
When disk is full: Select Stop Recording or Overwrite.
CAUTION: Overwrite will save recorded video over the oldest saved files when your hard drive is full.
-
Allocate: Enter hard drive space you would like FLIR PC-NVR to use.
TIP: FLIR PC-NVR is compatible with an external USB HDD.
-
You can set a recording schedule for each connected camera in FLIR PC-NVR.
To set a recording schedule for a camera:
-
Click Record Plan.
-
Select the channel you want to set a recording schedule for.
-
Select Continuous, Motion, or Alarm, then click and drag in the timeline of each day to customize the recording schedule.

-
Continuous: Your camera will record continuously.
-
Motion: Your camera will record when it detects motion.
-
Alarm: Your camera will alert you when it detects motion.
TIP: Setting a recording schedule in FLIR PC-NVR does not affect the recording schedule set on your DVR / NVR system.
-
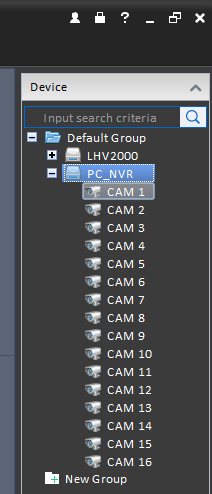
Your PC-NVR will behave as a virtual NVR system and save your recorded video to your PC. FLIR PC-NVR shows in the Device list and behaves like any other DVR / NVR system in the FLIR Cloud Client software.