LHA / LNK Series: Setting a recording schedule
You can set your LHA / LNK Series DVR / NVR system to a custom recording schedule according to your needs. For example, you can set the system to record continuously during business hours and record on motion detection only outside of business hours. A custom recording schedule helps reduce the amount of hard disk drive (HDD) space required, increasing the time your system can retain recordings.
To set a recording schedule:
-
In the taskbar, click the Main Menu icon (
 ), and then click Settings > Record > Schedule.
 -
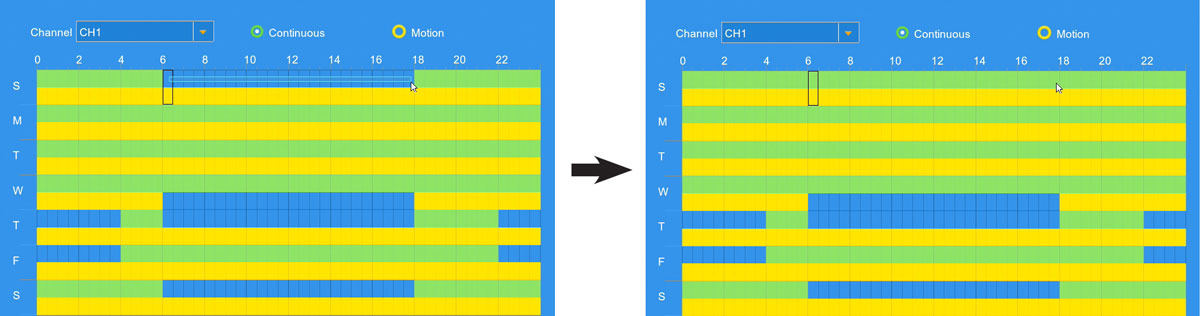
In the Channel drop-down, select a channel to set the recording schedule for.
-
Select Continuous to edit the continuous recording schedule, or Motion to edit the motion recording schedule.
-
Click and drag on different days to customize recording schedules. The schedule is set up as a grid, with each block representing one hour.
TIP: You can copy the same configuration to another channel or all channels. In the Copy field, select the channel you want to copy from and the channel you want to copy to, and then click Copy.
-
Click Save to set the recording schedule.
-
Click OK.
Click here for information on how to set up a recording schedule using the FLIR Client 12 software for PC / Mac.