Wi-Fi Security Camera - How to back up and share video via the Lorex App
You can back up and share videos and snapshots via the Lorex App. You can also back up videos and snapshots by manually removing the micro SD card from the camera and transferring the data to an external storage and share the data.
This guide applies to the following products: W281AA, W282CA, W261AS, W261AQ, LNWDB1, and V261LCD.
How to back up and share video via Lorex App
Here's how to back up your videos and snapshots through the Lorex App.
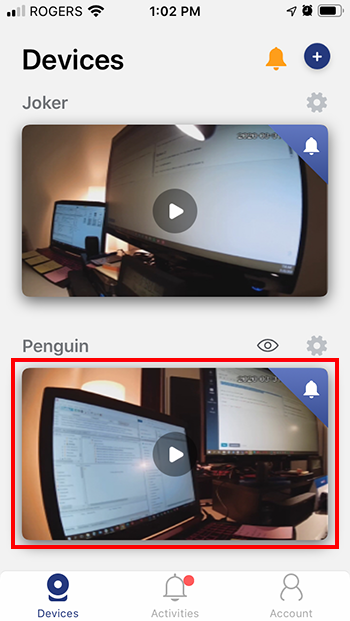
Step 1. Launch the Lorex App app, then tap Device Thumbnail to open Live View.
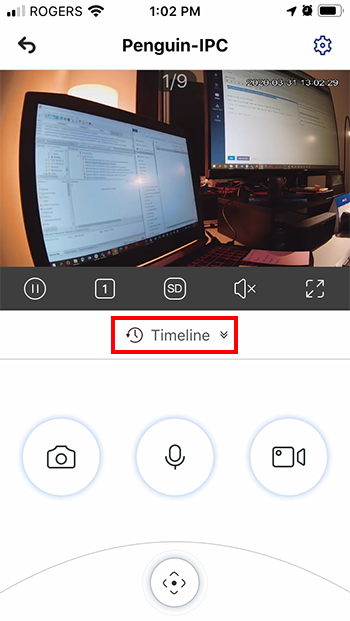
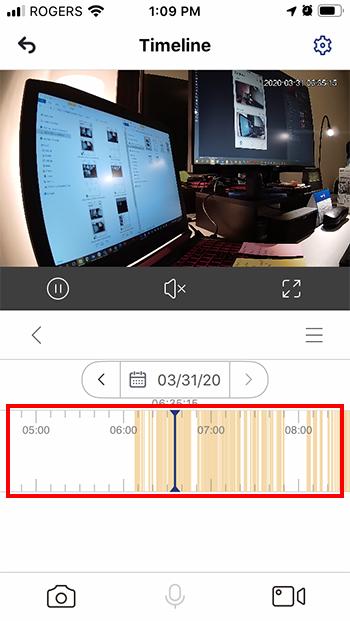
Step 2. Tap Timeline.
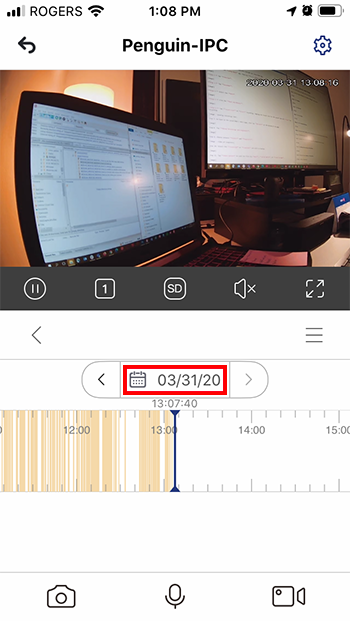
Step 3. Tap Calendar.
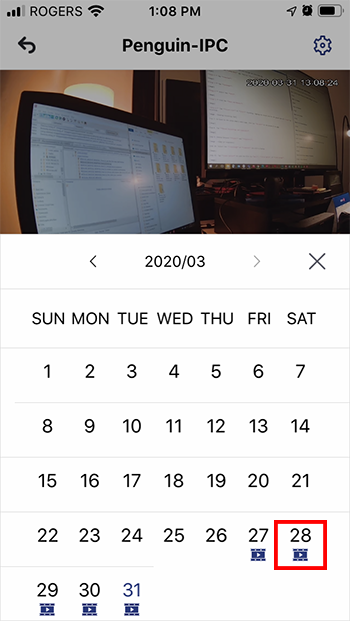
Step 4. Choose the Date.
Step 5. Find the Hour and Minute by sliding the Timeline.
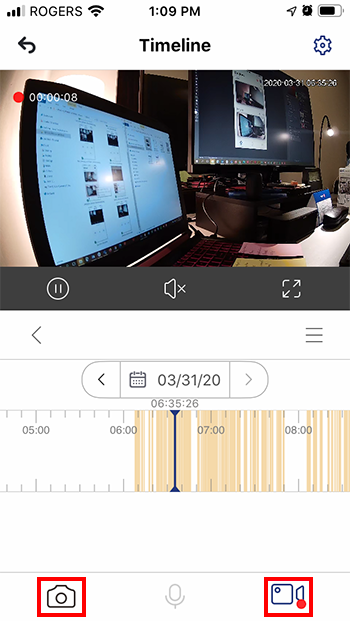
Step 6. Tap the camera icon to take a snapshot or the record icon to record a video. Tapping the record icon for the second time will stop the recording.
Step 7. Go back to the app's main page, then tap Account at the bottom of the page.
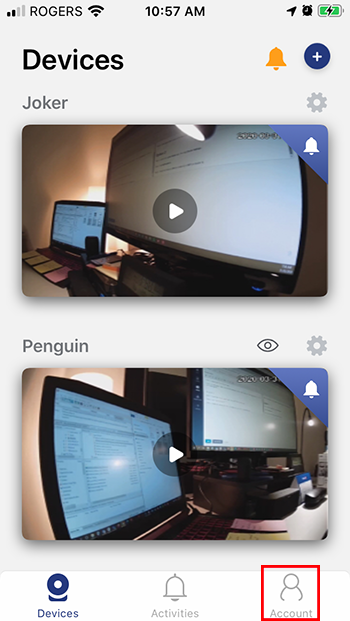
Step 8. Tap Manual Recordings and Snapshots.

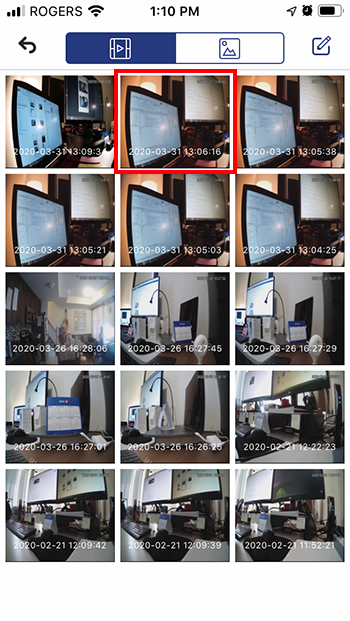
Step 9. Tap the video icon to back up videos or the picture icon to back up snapshots.
Tapping the video icon will bring out all videos you've previously recorded in Step 6.
![]()
Tapping the picture icon will bring out all snapshots you've previously taken in Step 6.
![]()
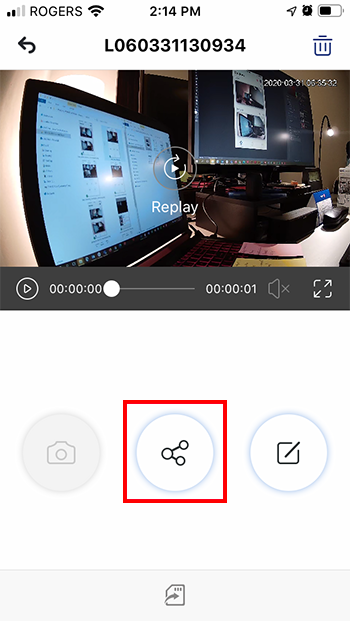
Step 10. From the thumbnails, select a recording or snapshot that you wish to back up.
Step 11. Tap the share icon to send the file via mail, social media, or cloud storage.
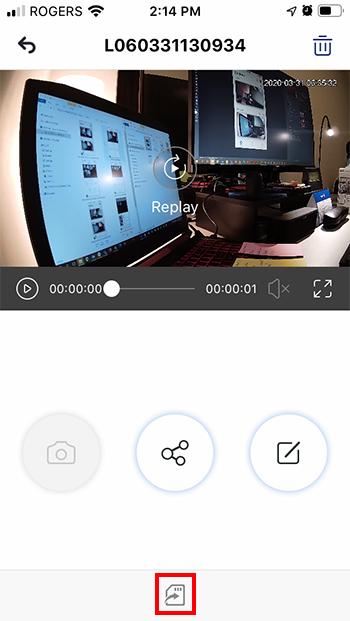
Step 12. Tap the micro SD icon to download the file onto your smartphone storage.
NOTE: Export function is not available on Android. Right now, it's only available on iOS.
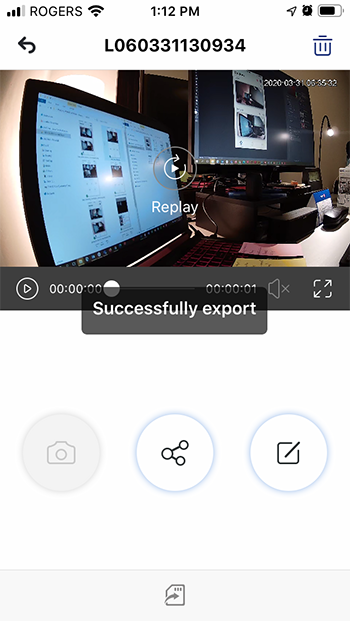
You will get a prompt that the file has been successfully exported.
How to back up by manually removing the micro SD card
Here's how to back up yor videos and snapshots by manually removing the card from the camera and transferring the data to an external storage.
Step 1. Unplug the camera.
Step 2. Locate the micro SD card slot.
W261AQ Series
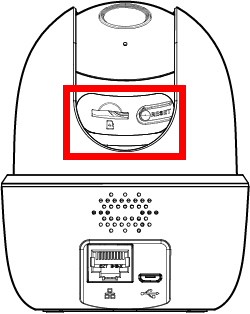
For W261AQ Series, the micro SD card slot is located below the lens. To find the card slot, rotate the lens all the way up, so it points upward (see image below).
WARNING: Make sure the camera is unplugged when rotating the lens so as not to damage the PTZ motor.
Using your fingernail, gently push the micro SD card until you hear a click, then slide it out of the slot.
W261AS Series
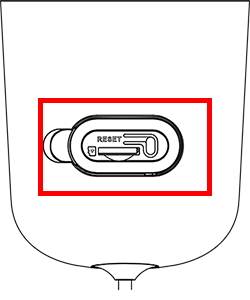
For W261AS Series, the micro SD card is located on the side of the camera. It has no cover.
Using your fingernail, gently push the micro SD card until you hear a click, then slide it out of the slot.

W281AA Series
For W281AA Series, the micro SD card slot is located at the top of the camera. It has a cover.
To remove the card, lift the cover gently using your fingernail to expose the card slot inside.
Using your fingernail, gently push the micro SD card until you hear a click, then slide it out of the slot.
Step 3. Insert the micro SD card to an adapter.
Step 4. Locate the file(s) on your computer and make a copy.
Locate the storage on your computer. It will appear as SDHC and will have folders showing this format YYYY-MM-DD.
Each folder contains the recorded video (DAV) and snapshots (JPG) in chronological order.
IMPORTANT: You must have a compatible video player (e.g., Lorex Media Player) installed on your computer to watch the video.
Step 5. Put the micro SD card back to the camera.
Step 6. Format the Micro SD card if needed.
Congratulations! You have manually backed up your camera.