W462AQC - 2K Pan-Tilt Indoor Wi-Fi Security Camera : Installation
This article provides instructions to install your Lorex 2K Pan-Tilt Indoor Wi-Fi Security Camera (W462AQC).
What is included in the box?
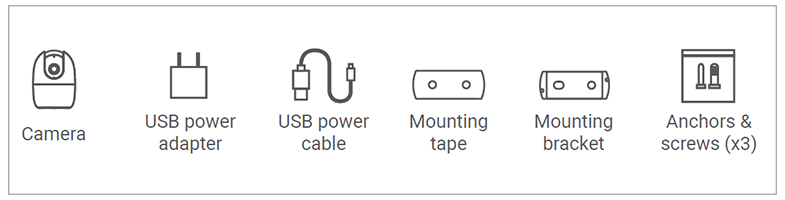
Note: A REGULATED UL/CSA APPROVED power supply is REQUIRED for use with this camera (included). Use of a non-regulated, non-conforming power supply can damage this product and voids the warranty.
Connecting with the Lorex App
-
Attach the provided power adapter to the camera. The device is ready for setup as soon as the status indicator is flashing green and chimes.
Note: Ensure your camera is plugged in and powered ON throughout the setup.
Optional: Attach the weatherproof extension cable to the camera. -
Download the Lorex App by scanning the following QR Code. You can also visit Google Play or Apple Store to download Lorex App.

-
Open the Lorex App app and create an account or login with your credentials.
-
Tap
 icon to add a new device, then follow the in-app instructions to complete the device setup.
For full instructions on Lorex App setup, see Connecting with Lorex App.
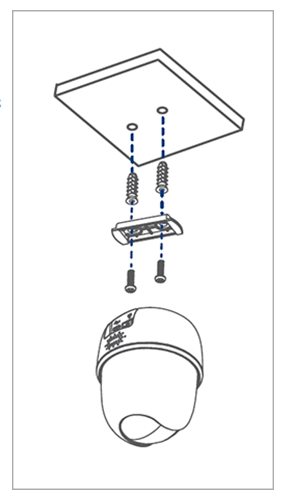
Mounting the Pan-Tilt Security Camera
-
Use the mounting template to mark two holes for screws.
-
Drill the holes using a 1/4" (6mm) drill bit. If mounting to masonry or drywall, gently tap the anchors into the holes.
-
Align the flat side of the mounting plate with the drilled holes.
-
Use a Phillips screwdriver and two screws to secure the mounting plate to the mounting surface.
-
Twist the camera’s base clockwise onto the mounting plate.
-
Open the camera’s settings on the app and enable Image Rotation to flip the camera image.
To configure camera settings, see Device Settings.