DV / LHV Series DVRs: Configuring deterrence settings
Set preferences for the automatic warning light triggering on compatible Lorex deterrence cameras. For a complete list of compatible deterrence cameras, see lorex.com/compatibility.
To configure automatic deterrence using DVR:
 In live view, right-click and click Main Menu.
 Log in using the system user name (default: admin) and your new, secure password.
 Click
Click ![]() and select Setting.
and select Setting.
 Click Event > Motion > Deterrence (see Figure 1).

Figure 1
 Select the channel of the deterrence camera to configure next to Camera.
 Click the Enable checkbox to enable automatic warning light deterrence.
 Click Setup next to Area to set the active area for automatic deterrence:
- The camera image appears with a grid of green boxes over top. The green area is the active area for deterrence.
- Click or click-and-drag to add / remove boxes from the active area.
- In Figure 2, only motion around the doorway will trigger warning light.
- Right-click when finished.
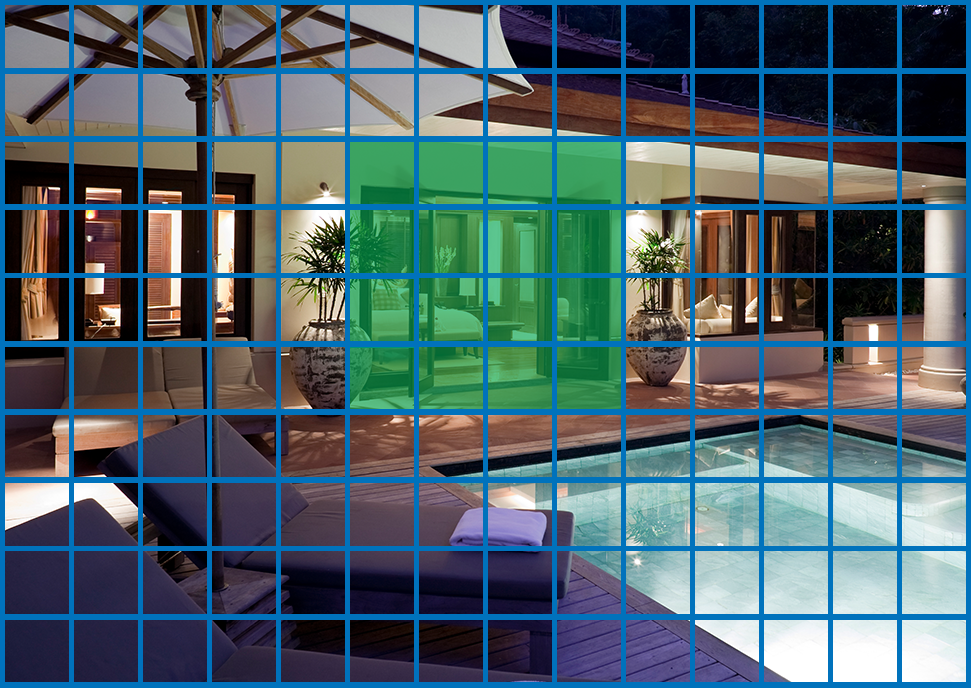
Figure 2
 Click Setup next to Schedule to set a schedule during which automatic deterrence will be used:
- The default schedule is active during the night, between 5pm and 7am.
- Right-click when finished.
 Click Warning Light to set preferences for the warning light:
- Enter a time for the white light to be active up to 30 seconds.
- Select Warning Light for sustained light or Strobe for a flashing light.
- Click OK to save and exit.
 Click Apply to save changes.
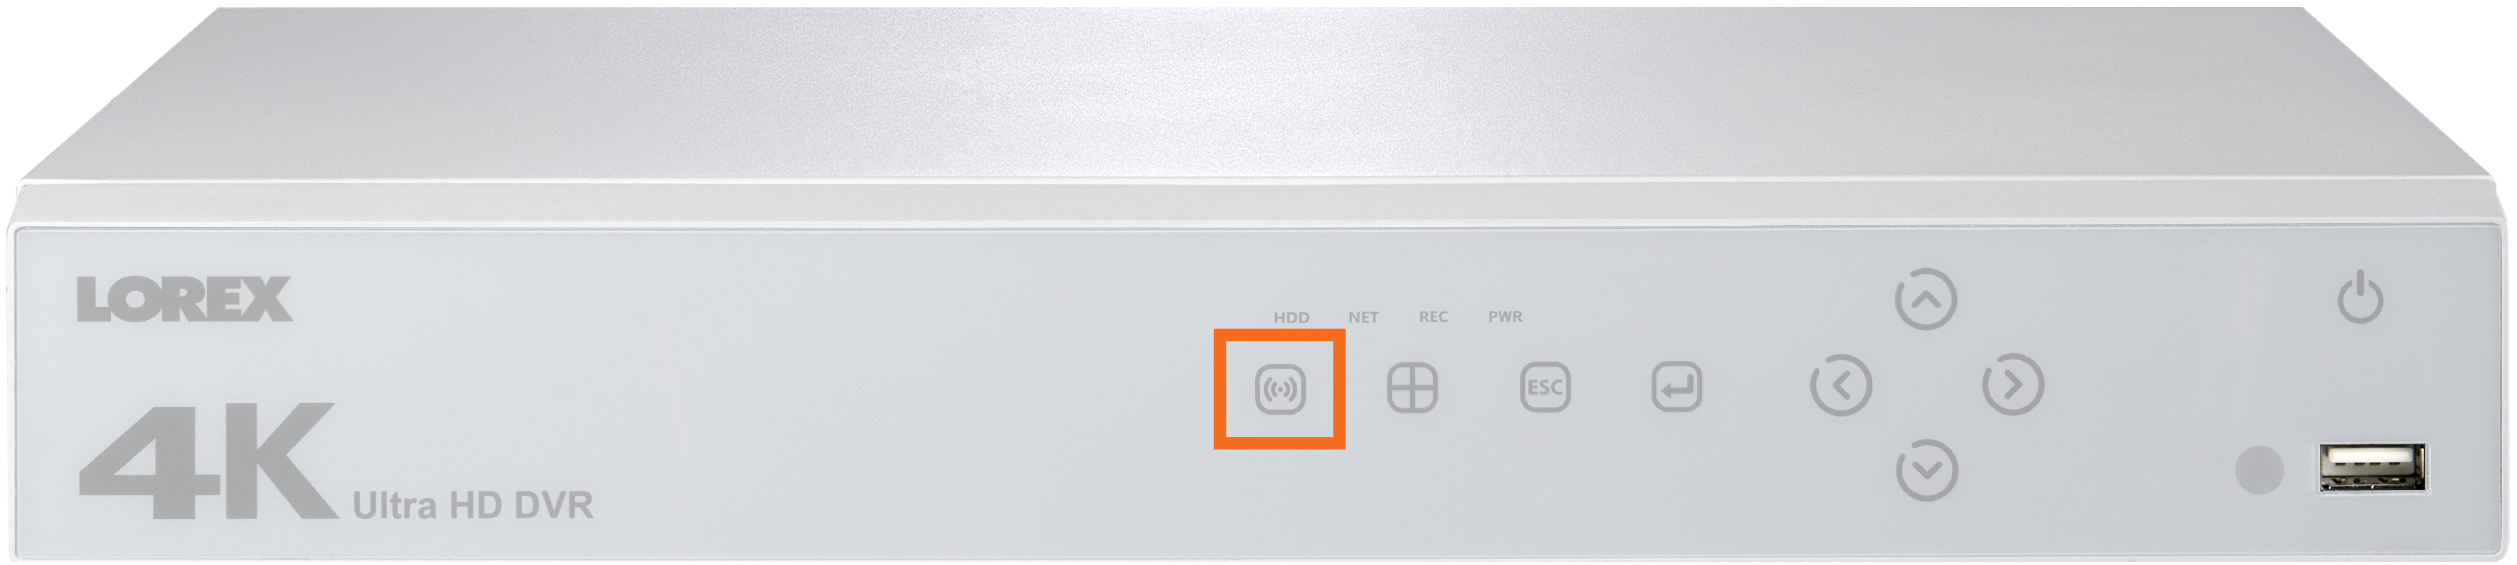
To activate deterrence features manually:
-
Press and hold
 on the front panel for 5 seconds. Warning lights and sirens will be activated for all connected deterrence cameras.
-
From live display, hover near the top of a channel to reveal the Mini Menu. Click
 to activate warning light, or click
 to activate siren.
