Lorex Smart Home Security Center - How to install an SSD (solid state drive)
The following article details how to install an SSD (solid state drive) into a Lorex Smart Home Security Center (LSHSC [L871T8]).
Prerequisites:
-
Before you install the SSD (solid state drive), make sure the LSHSC is powered OFF. The SSD cannot be installed in the LSHSC when it is still powered ON as it may damage the SSD.
-
An M.2 2280 SATA SSD M or M.2 2280 SATA SSD B+M is required (not included).
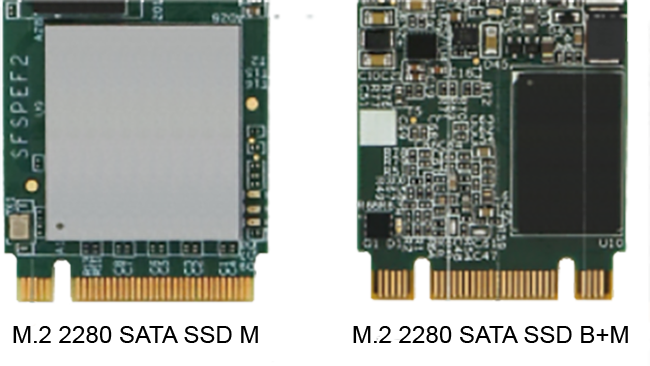
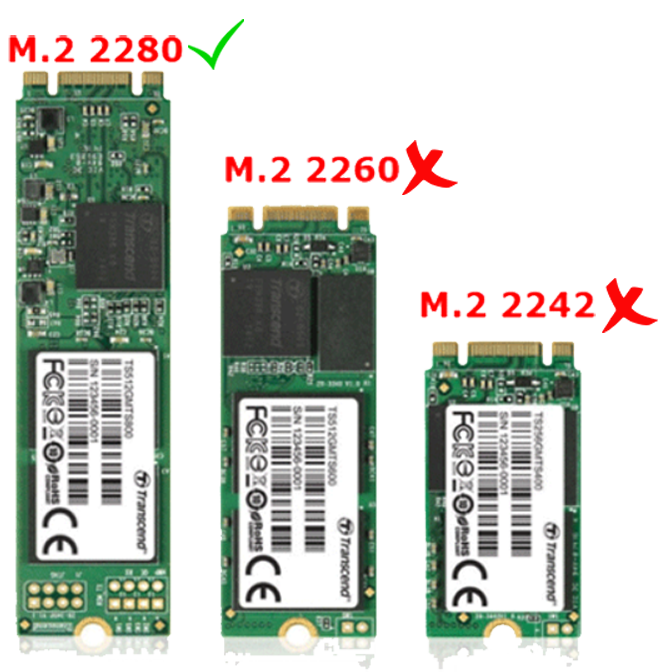
IMPORTANT: Make sure to purchase the M.2 2280 SATA SSD as this determines the dimensions of the SSD.
To install an SSD into your LSHSC:
- Open the SSD storage slot cover located on the back of the LSHSC.
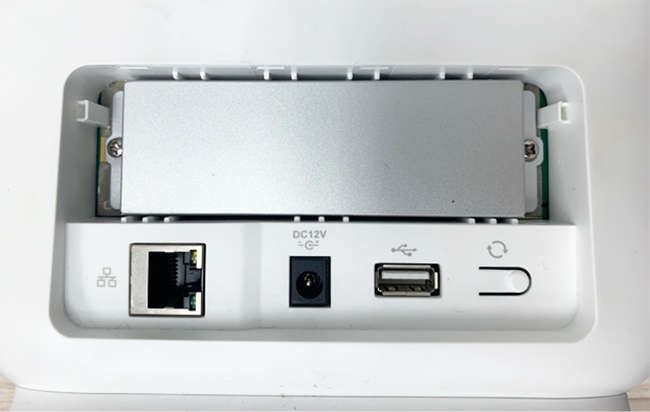
- Unscrew the protective metal SSD cover.
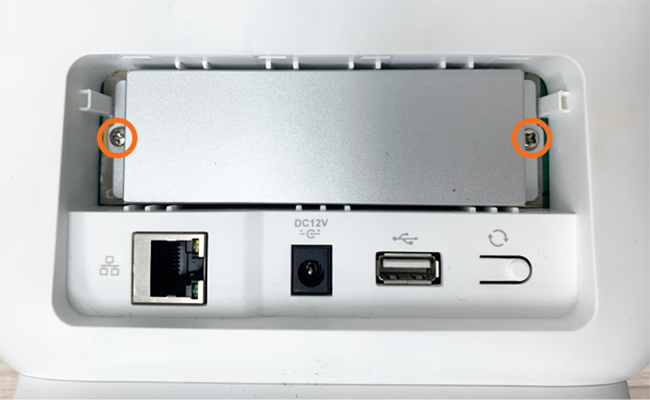
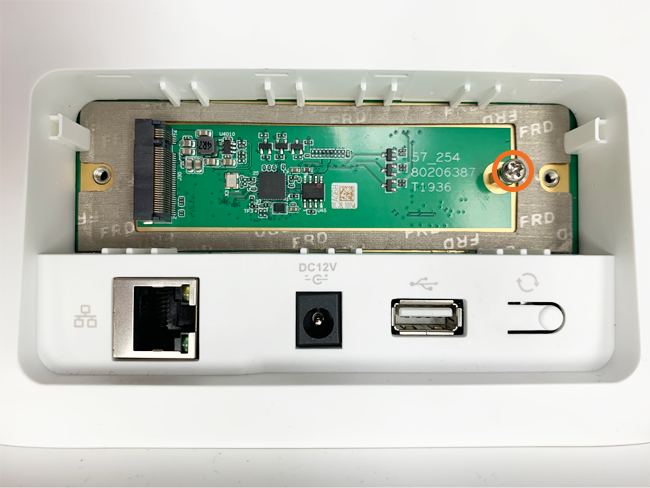
- Unscrew the SSD securing screw highlighted in the image below.
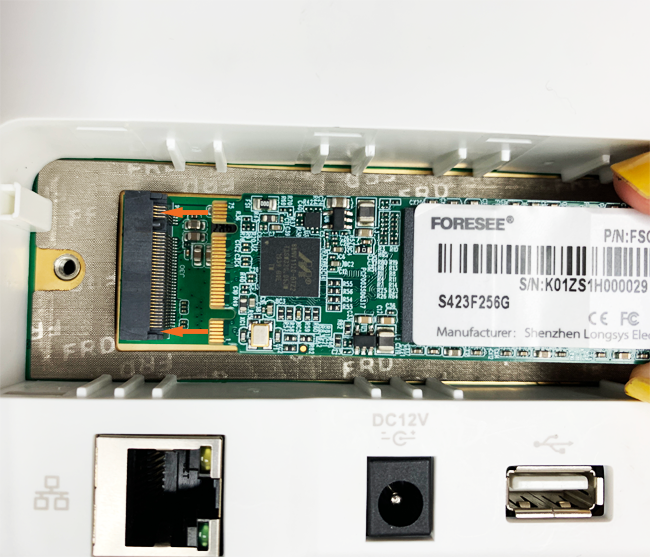
- Insert the M.2 SATA SSD with the top side face up and the prongs aligned to the SATA port. Make sure the SSD is correctly inserted into the SATA port.
- Insert and tighten the SSD securing screw.
- Attach the protective metal cover and screw in place.
- Attach the SSD storage slot cover and click into place.
- Power ON the LSHSC.
How do I format and select the SSD as the LSHSC's video storage?
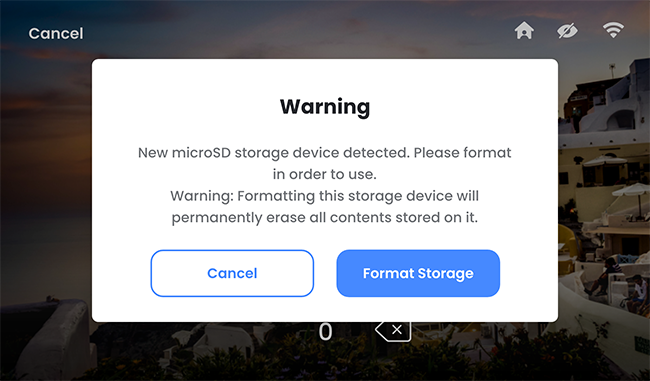
If your SSD has never been formatted before install, a pop-up window will appear. Tap Format Storage to format your SSD.
If you have already installed and formatted the SSD, select the SSD as the main storage:
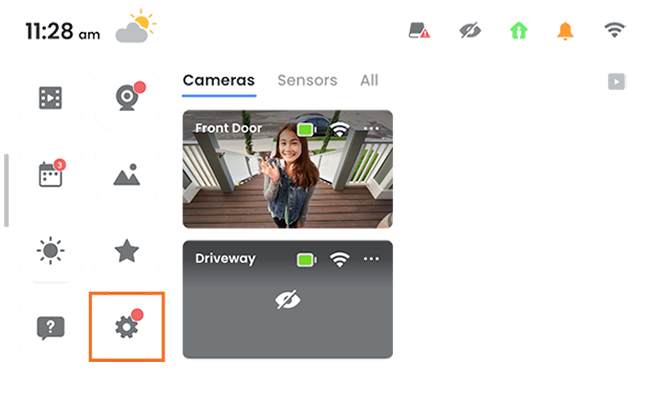
- At the LSHSC’s home screen, tap the settings icon.
- Tap Recording settings > Recording Storage Location, and select SSD.