LHV / LNR Series: Configuring display settings
Different monitors can support different image / video resolutions. If your image appears pixelated or cut off, you may need to modify your LHV / LNR Series DVR / NVR display resolution.
To change display resolution:
-
Right-click in the Live View to open the Quick Menu.
-
Click Main Menu and click the Setting icon (
 ).
). -
Click Setting > Display.
-
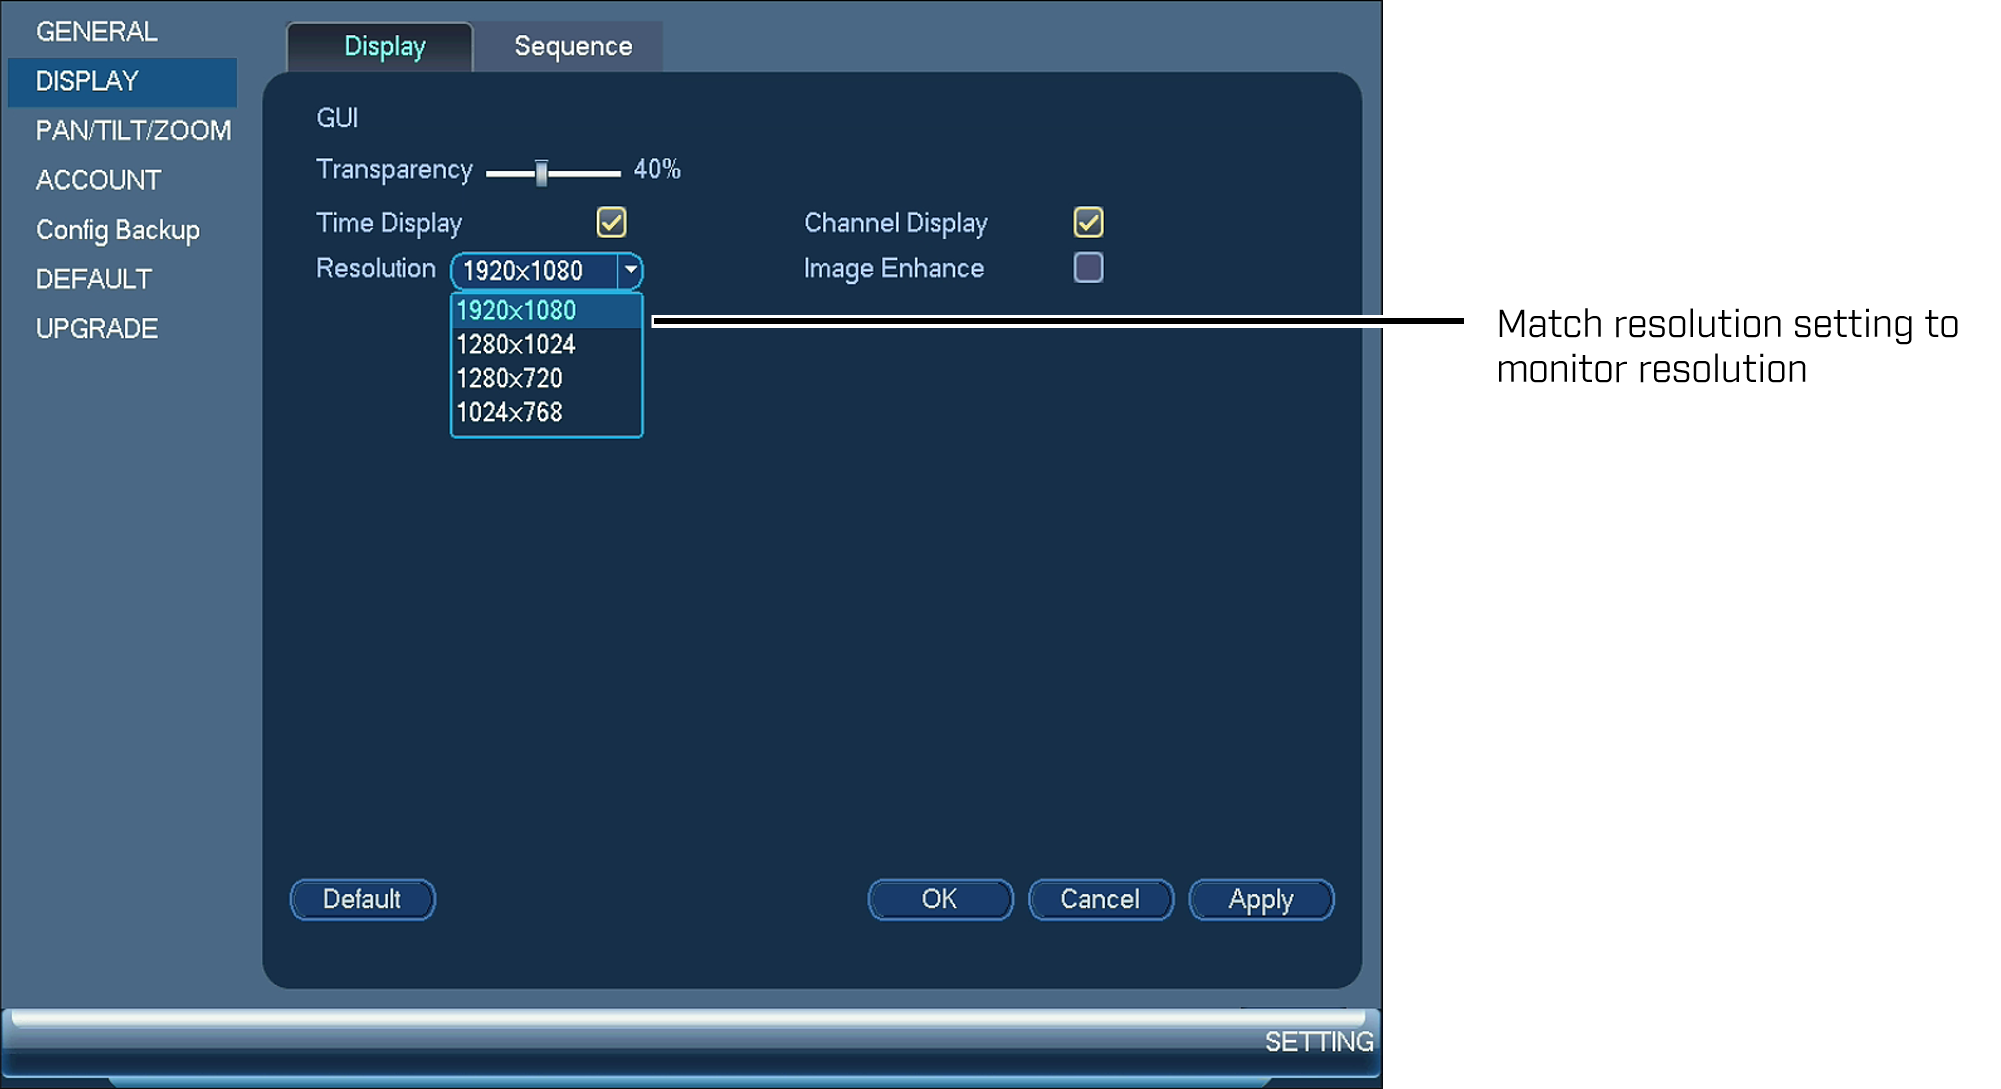
Click the Display tab.
-
In the Resolution drop-down, select the correct resolution for the monitor being used.
-
Click Apply to save the settings, and then click OK to exit.
REMINDER: Ensure that the resolution setting of your DVR / NVR matches the resolution of the monitor or the picture may appear distorted. Refer to your monitor user manual for resolution if needed.
After adjusting the display resolution you may want to adjust other display settings to fit your preferences.
To adjust other display settings:
- Right-click in the Live View to open the Quick Menu.
- Click Main Menu and click the Setting icon ().
- Click Setting > Display.
- Click the Display tab.
- Configure the following settings:
- Transparency: The menu transparency
- Time Display: Whether or not to display the time on the monitor
- Channel Display: Whether or not to show the channel display on the monitor.
- Image Enhance: Checks the system to improve the video quality of Live View. This setting does not affect recordings.
- Click Apply to save the settings, and then click OK to exit.
If you are experiencing difficulties with your display, you may want to restore default settings.