LHA / LNK Series: Changing a camera's On-Screen Display (OSD)
The On-Screen Display (OSD) shows the channel name with the date and time stamp on the top-right corner of the live feed or video playback. You can change the settings and the position of the OSD.
Prerequisite:
- The following instructions require you to access your system using your DVR / NVR and a monitor.
To change a camera’s OSD name / timestamp:
-
In the taskbar, click the Main Menu icon (
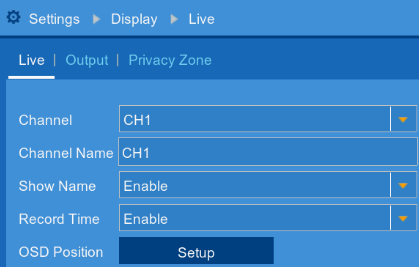
 ), and then click Settings > Display > Live.
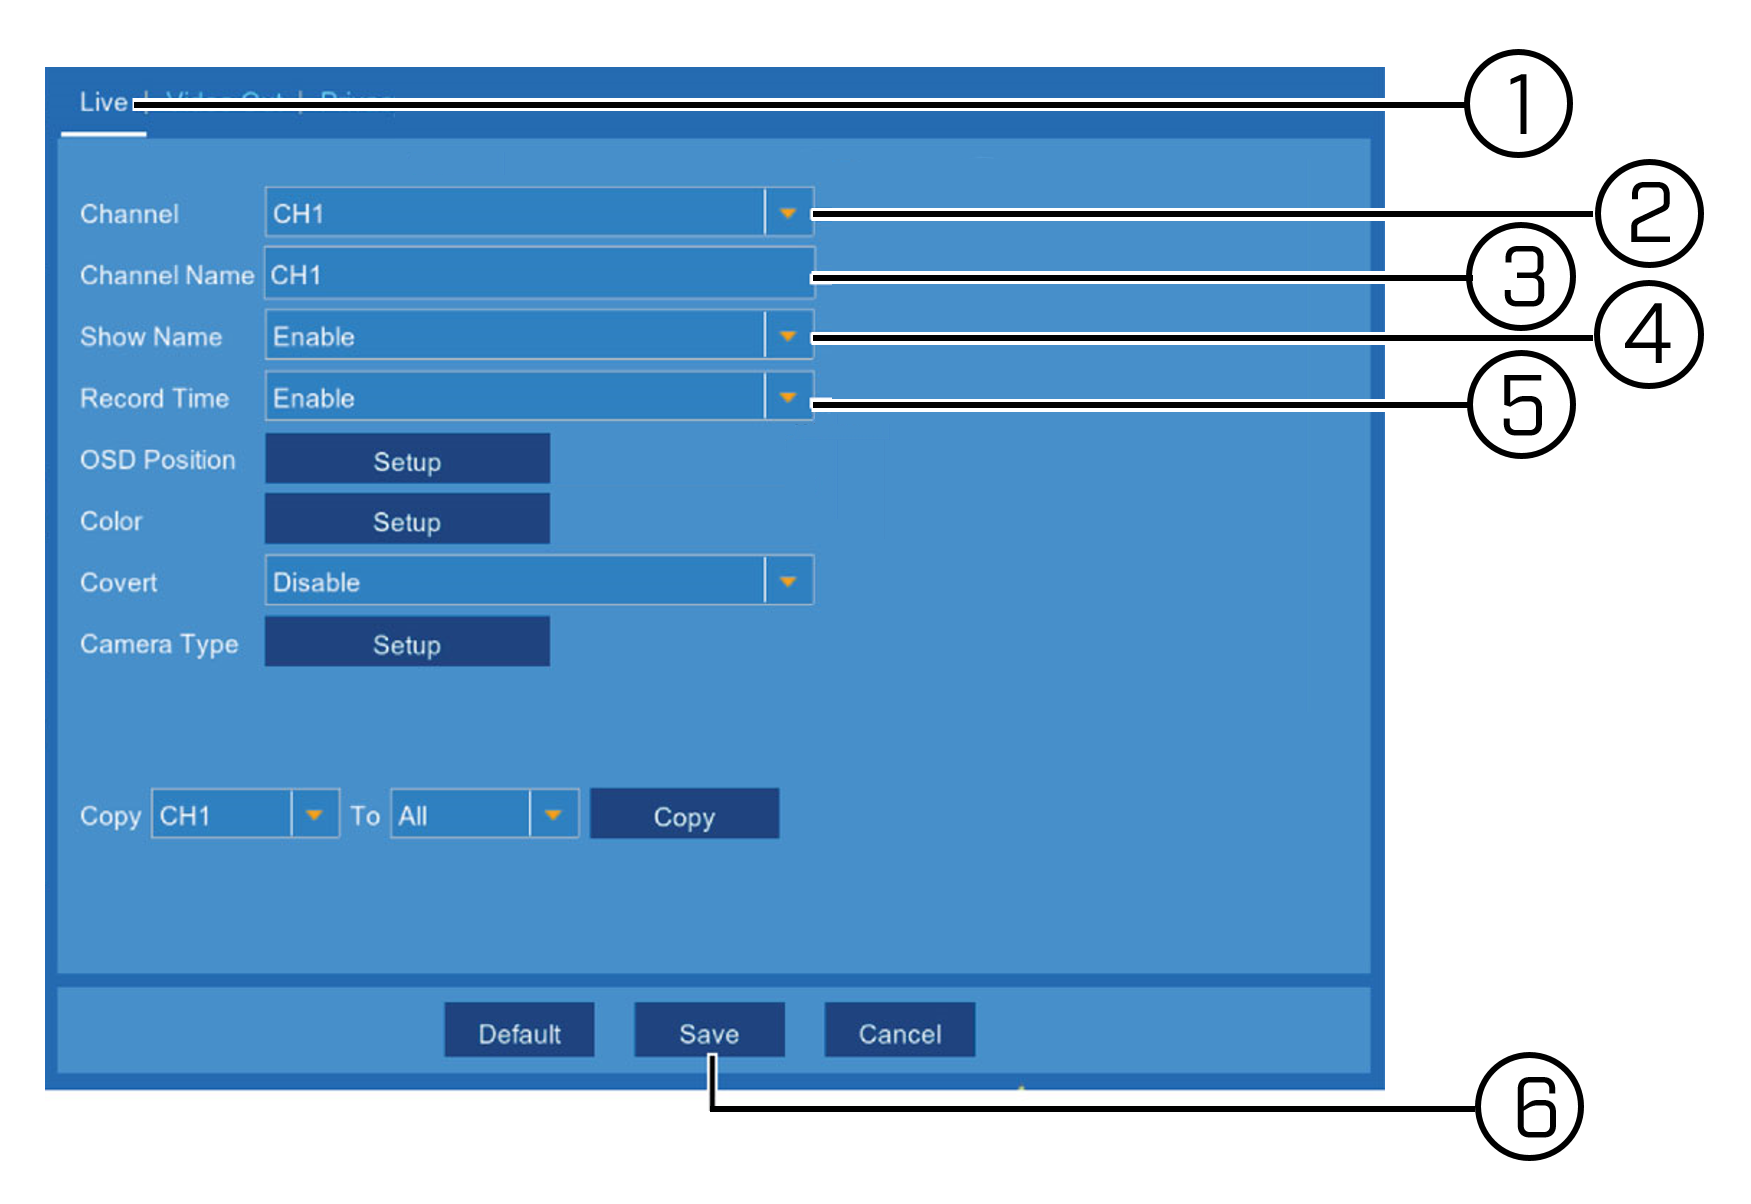
-
In the Channel drop-down, select the channel to configure.
-
Enter a Channel Name of your choice.
-
In the Show Name drop-down, select Enable to show the name in live view and recordings.
-
In the Record Time drop-down, select Enable to show timestamps in recordings.
REMINDER: By default, the system is set to show timestamps in video recordings. It is highly recommended to show timestamps in recordings for legal purposes.
-
Click Save to save your OSD settings, and then click OK.
To change the OSD position:
-
In the taskbar, click the Main Menu icon (
), and then click Settings > Display > Live. -
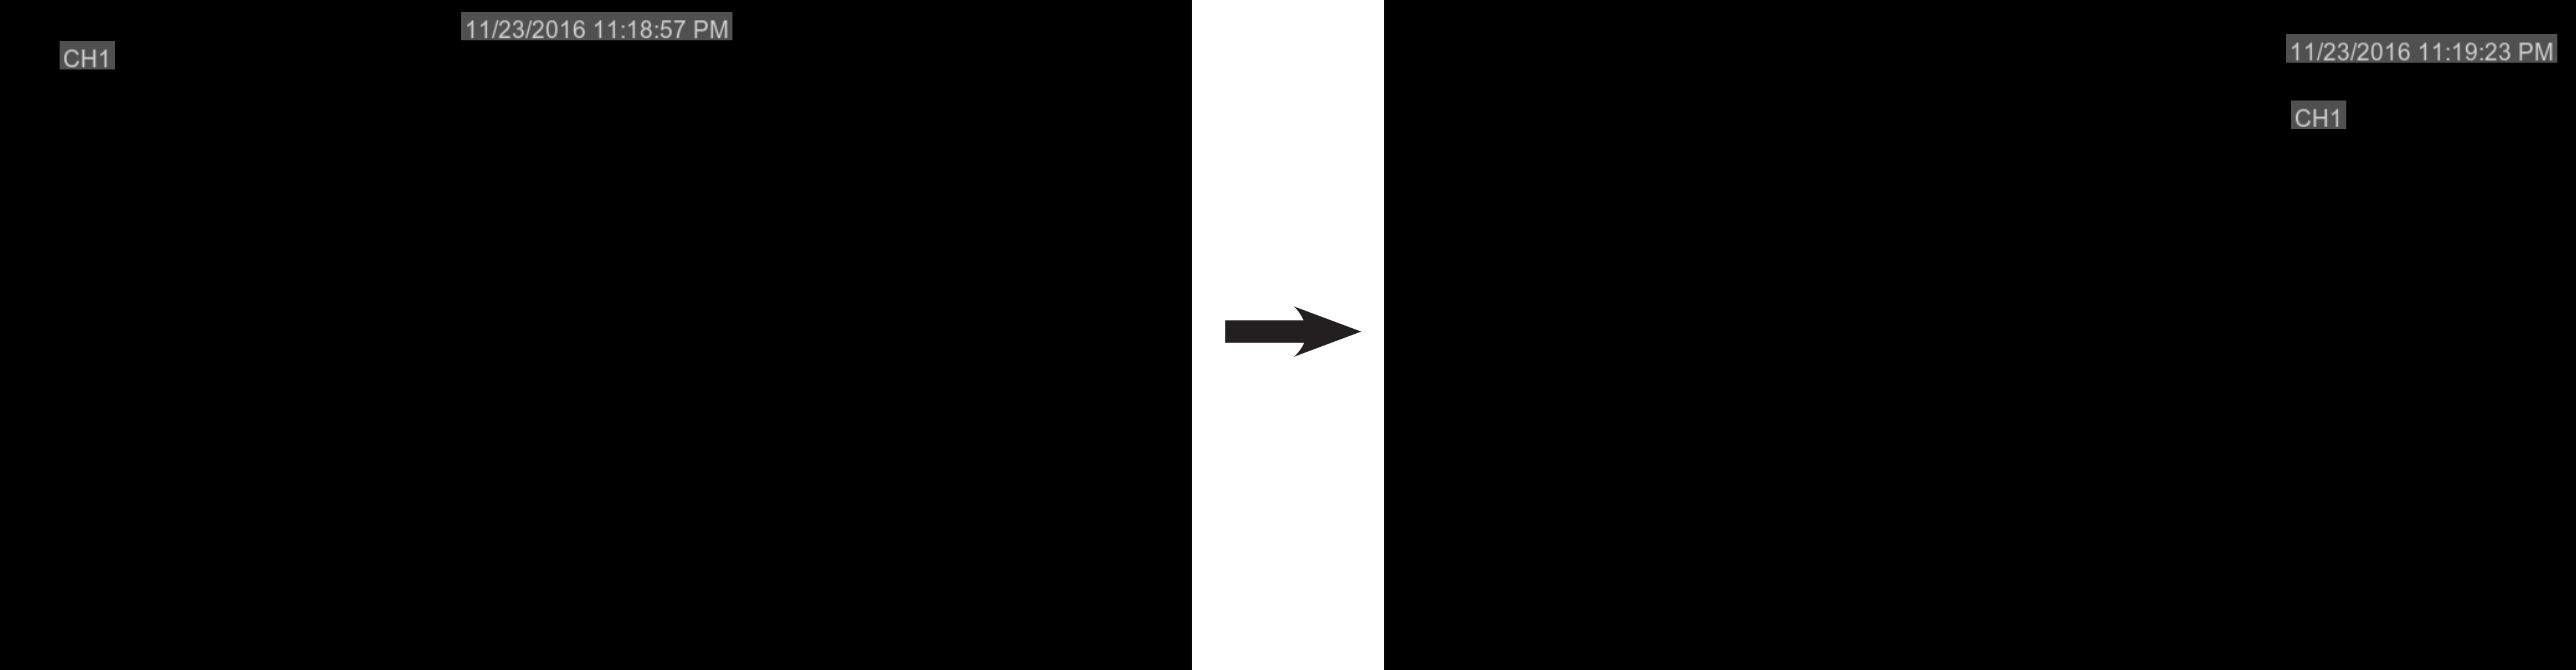
Click Setup next to OSD Position.
-
Click and drag the timestamp and / or channel name to change their position on screen, and then right-click on the Live View.
-
Click Save, and then click OK.
TIP: You can copy the same configuration to another channel or all channels. Select the channel you want to copy from and the channel you want to copy to, and then click Copy.
Changing a camera's On-Screen Display (OSD) using the FLIR Client 12 software for PC / Mac