D242 Series - 1080p Digital Video Recorder with Smart Motion Detection : Connecting with Lorex App
This article provides instructions to setup your 1080p Digital Video Recorder with Smart Motion Detection (D242 Series). with the Lorex App.
You can connect your recorder to the Lorex App for remote access.
To setup DVR with Lorex App
- Download the Lorex App by scanning the following QR Code. You can also visit Google Play or Apple Store to download Lorex App.
-
Open the Lorex App, and create an account or login with your credentials.
-
In the Devices Screen, tap
 icon to add a new device.
 -
Scan the QR code on your Lorex recorder using the camera on your phone. The QR code may be located on the side or top panel of your recorder.
Note: If you're having trouble scanning the QR code or if your mobile device does not have a camera, tap Manually Enter Device ID. The Device ID is printed below the QR code.
OR- Connect your recorder with a monitor and the provided mouse.
-
From the Live View display, right-click to open the Quick Menu, then click Main Menu.
-
Scan the QR code on the screen with your Lorex App.

-
Allow Lorex App to establish a Wi-Fi connection directly to your camera.
-
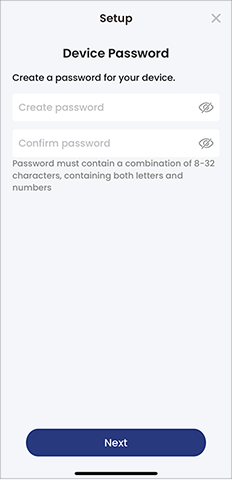
Create a secure password for your Lorex Wi-Fi camera.
-
Choose your Wi-Fi network from the list of available networks and enter the Wi-Fi password.
-
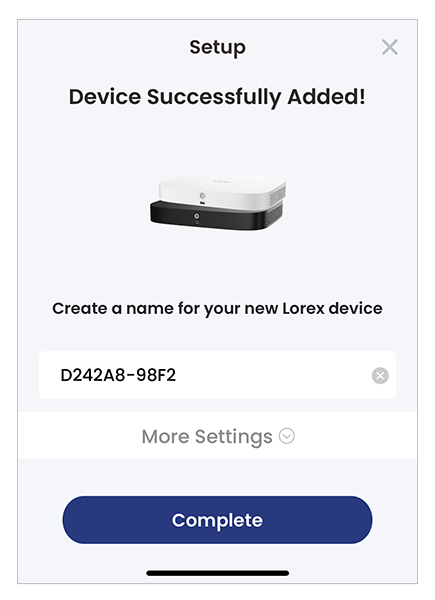
Create a name for your Lorex DVR by selecting from a list of pre-defined names OR enter a custom name in the text box.
-
Click Complete.
Your Lorex 1080p Digital Video Recorder is now successfully connected with the Lorex App application!