N845, N846, N847, N864 Series: Smart Security Lighting
The following article provides both Lorex App and recorder instructions for using the Smart Security Lighting feature on your IP deterrence cameras.
Table of Contents:
- Link the Smart Security Lighting™ with Smart Motion Detection (Lorex App)
- Set the Smart Security Lighting™ Modes (Lorex App)
- Set the Smart Security Lighting™ Settings (New Local UI)
- Manually Activate the Smart Security Lighting™ (New Local UI)
Certain Lorex IP deterrence cameras have a built-in, colorful Smart Security Lighting™ on the front of the camera. This smart lighting feature can be set to different lighting modes or paired with smart motion detection settings.
Smart Security Lighting™ is compatible with certain Lorex IP cameras. For a complete list of compatible cameras, navigate to your recorder series at lorex.com/compatibility.
For instructions on disabling this feature, see the article How to Turn Off Smart Security Lighting™.
Link the Smart Security Lighting™ with Smart Motion Detection (Lorex App)
Set Smart Security Lighting™ settings for when smart motion detection events occur (also known as active deterrence).
Pre-requisite: Download the Lorex App and connect your system. Refer to the article DVR / NVR - Download the Lorex App for full instructions.
- Open your Lorex App app and login.

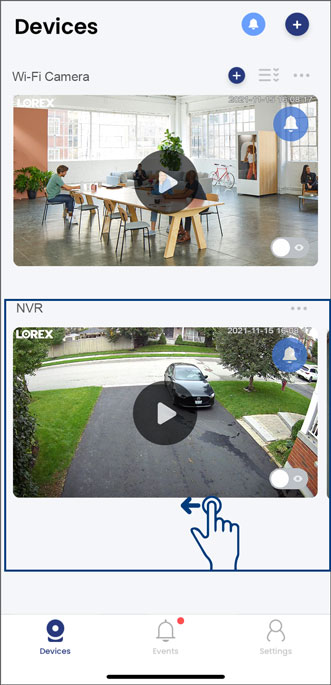
- Under your recorder, swipe left and tap on your deterrence camera.
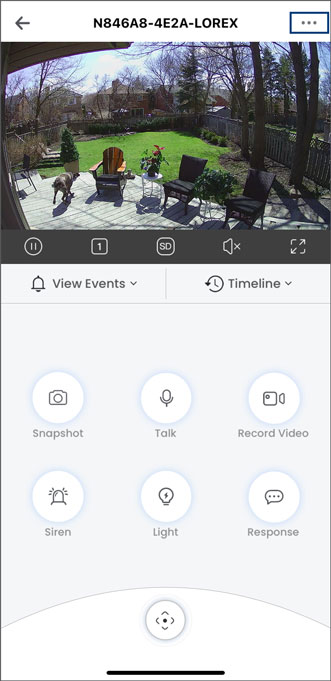
- Tap the camera's device settings icon.
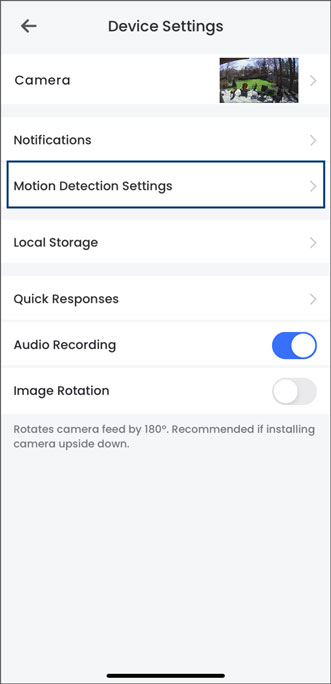
- Tap Motion Detection Settings.
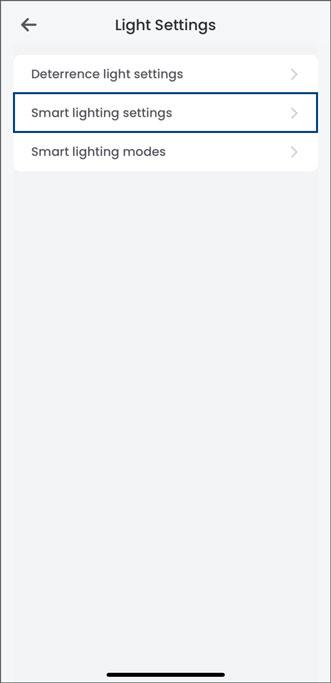
- Swipe to the bottom and tap Light Settings.

- Tap Smart Lighting Settings.
- Tap to enable the smart motion detection feature, and configure the following:
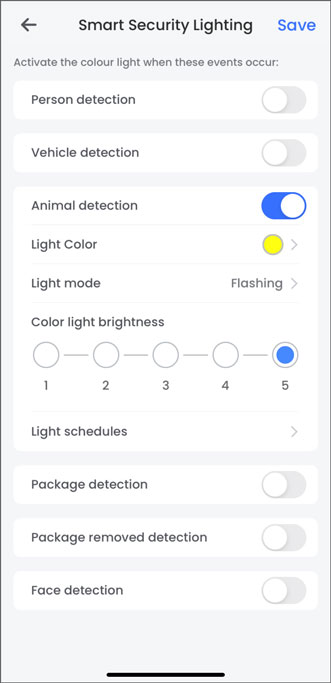
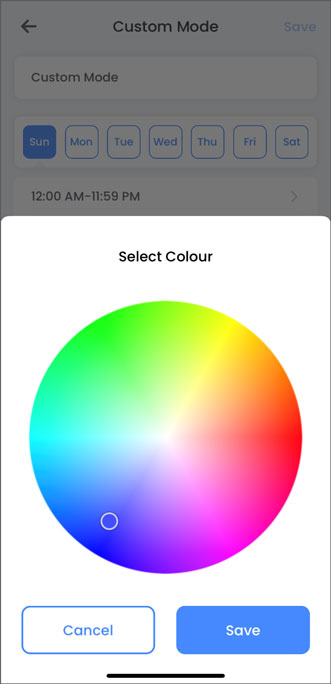
- Light Color: Tap to open the color wheel, then swipe through to set a custom color. Tap Save.

- Light Mode: Select Solid for a solid light or Flashing for a flashing light. Tap Save.
- Color Light Brightness: Adjust the Smart Security Lighting™ brightness level, with 1 being the lowest and 5 being the highest.
- Light Schedules: Tap on a weekday to adjust Smart Security Lighting™ time schedule preferences. Set the start time and end time, then select other weekdays to repeat the schedule. Tap Save.
- Tap Save to apply all changes.
Set the Smart Security Lighting™ Modes (Lorex App)
- Open your Lorex App app and login.
- Under your recorder, swipe left and tap on a compatible deterrence camera.
- Tap the camera's device settings icon.
- Tap Motion Detection Settings.
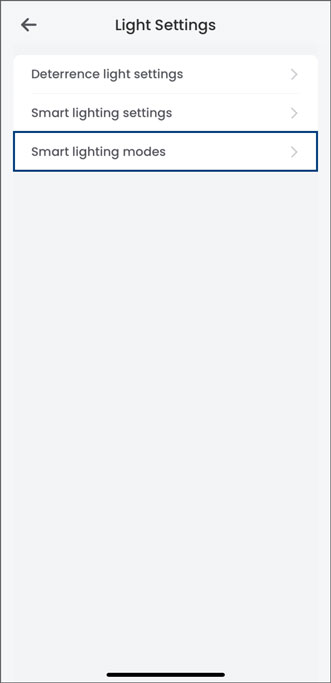
- Swipe to the bottom and tap Light Settings.
- Tap Smart lighting Modes.
- Select a smart lighting mode and then tap Set.
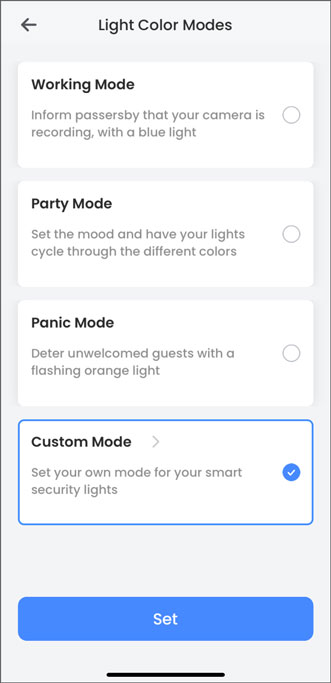
- (Optional) Select Custom Mode, and then tap again to customize it:
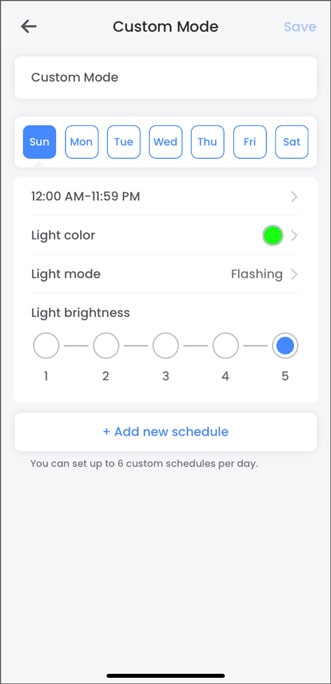
- Sun - Sat: Select a weekday for the schedule.
- AM - PM: Set the schedule start time and end time.
- Light Color: Tap to open the color wheel, then swipe through to set a custom color. Tap Save.
- Light Mode: Select Solid for a solid light or Flashing for a flashing light. Tap Save.
- Light Brightness: Adjust the Smart Security Lighting™ brightness level, with 1 being the lowest and 5 being the highest.
- +Add New Schedule: Create another schedule.
- Tap Save.
Set the Smart Security Lighting™ Settings (New Local UI)
Select channels that you want to enable the Smart Security Lighting™ on and adjust preferences.
- From the Live View display, right-click to open the Quick Menu, then click Main Menu.
- Click Events, then Event Settings. Click the Smart Security Lighting tab from the side panel.
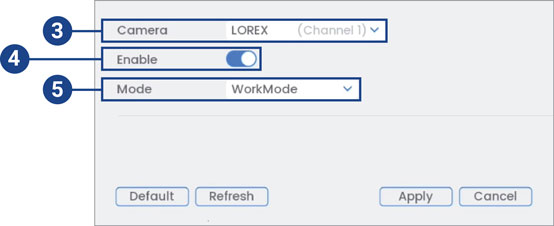
- Under Camera, select your deterrence camera.
- Check Enable.
- Under Mode, select between the different lighting modes or select Custom to customize the colors.
- (Optional) Adjust Custom mode preferences:
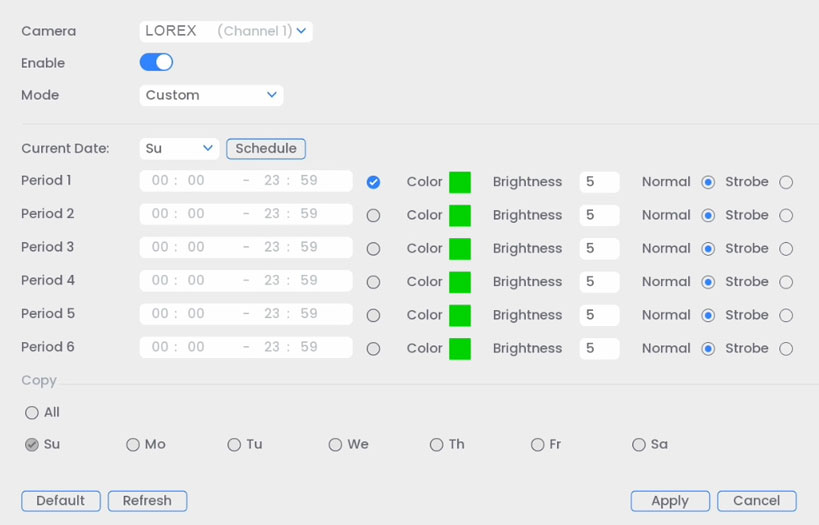
- Current Date: Select the weekday from the drop-down menu and then click Schedule to choose the times of the week to enable Smart Security Lighting™.
- Period (1–6): Choose the time that Smart Security Lighting™ will be active.
- Color: Click on the green color box to open the color settings. Set a custom color by clicking through the rainbow color palette or by entering an RGB color code. Click OK to select the color.

- Brightness: Set the Smart Security Lighting™ brightness level.
- Select Normal for a solid light or Strobe for a flashing light.
- Copy: Copy your preferences onto other weekdays or All.
- Click Apply to save changes.
Manually Activate the Smart Security Lighting™ (New Local UI)
From the recorder, hover the mouse pointer near the top of the camera image in Live View to reveal the Camera Toolbar. Click to activate the Smart Security Lighting™.

For instructions on disabling this feature, see the article How to Turn Off Smart Security Lighting.
For detailed instructions on configuring your system, refer to your recorder's Series Manual on the product support page. Visit help.lorextechnology.com and search your recorder's model number.