FLIR Secure Web Portal: Using the FLIR Secure web portal
You can view live video from your HD WiFi camera or DVR / NVR system through a computer using the FLIR Secure web portal. The FLIR Secure web portal will time out every 10 minutes and will require a refresh. This time out is in effect for security reasons, should you accidentally leave the web browser open, and helps to conserve mobile data when the site is used over a smartphone or tablet not connected to WiFi.
Prerequisites:
-
Go to www.flirsecure.com to access the FLIR Secure web portal and create a My FLIR account.
REMINDER: If you purchased your HD WiFi camera through the webstore, a My FLIR account was already created for you using the information you provided during your purchase.
Supported Browsers:
- Microsoft Internet Explorer 10 or higher
- Microsoft Edge
- Safari
- Google Chrome
- Mozilla Firefox
To view live video from your HD WiFi camera or DVR / NVR system using the FLIR Secure web portal:
-
Go to www.flirsecure.com.
-
Click SIGN IN.

-
Log in to your My FLIR account.
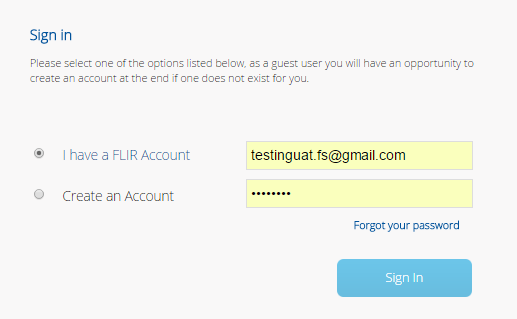
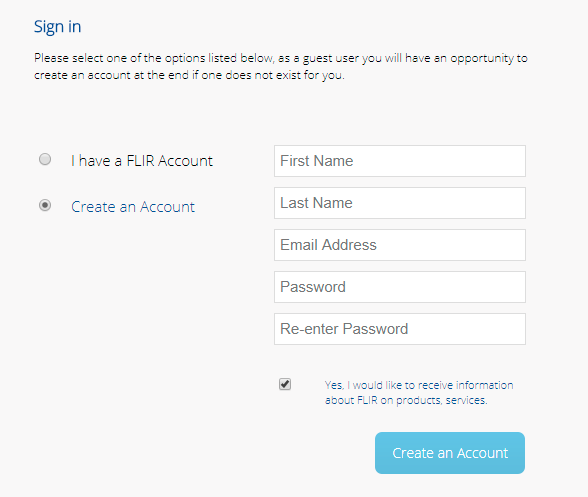
REMINDER: If you have not created an account, click Create an Account, enter the requested information, and click Create an Account.
-
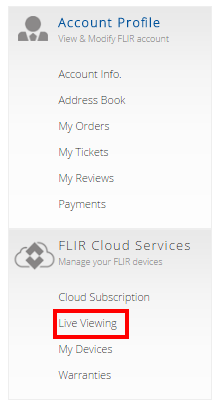
From the FLIR Secure web portal Home Page, click Live Viewing.
-
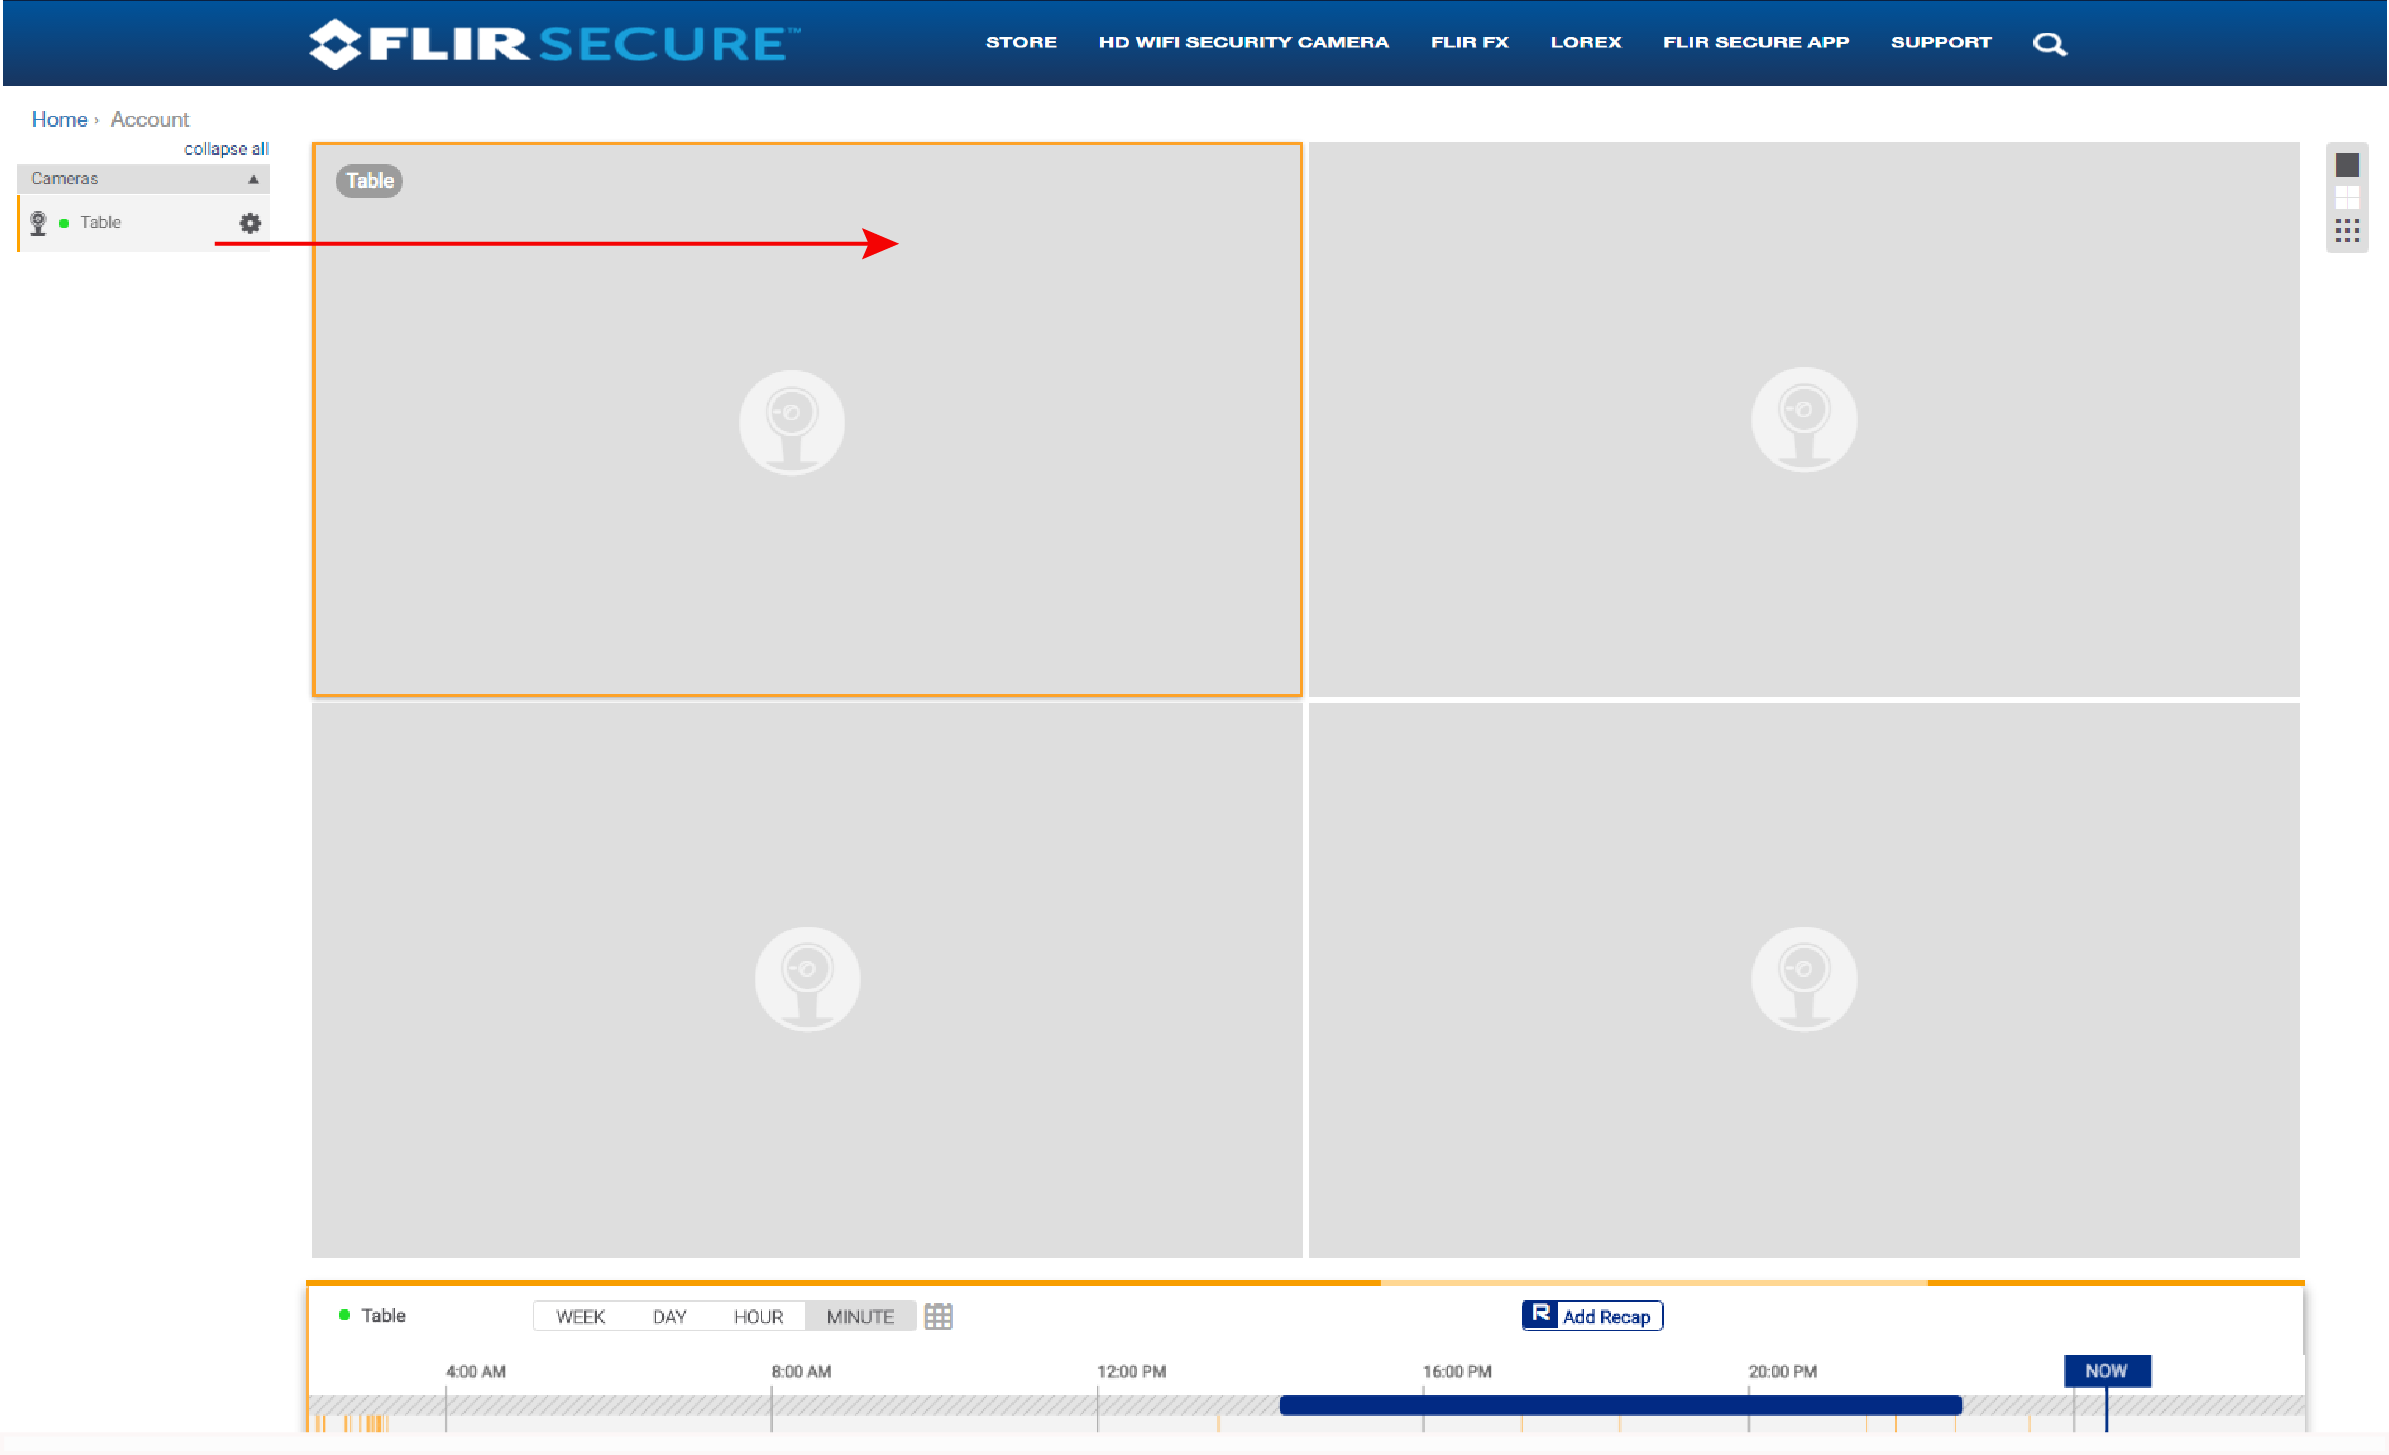
HD WiFi cameras and DVR / NVR syststems associated with your My FLIR account are displayed on the left-hand side of Live viewing page.
-
Click and drag your device to place it on the Live view layout. You can also click your device name to view it.
-
Enter your HD WiFi camera or DVR / NVR system password when prompted.
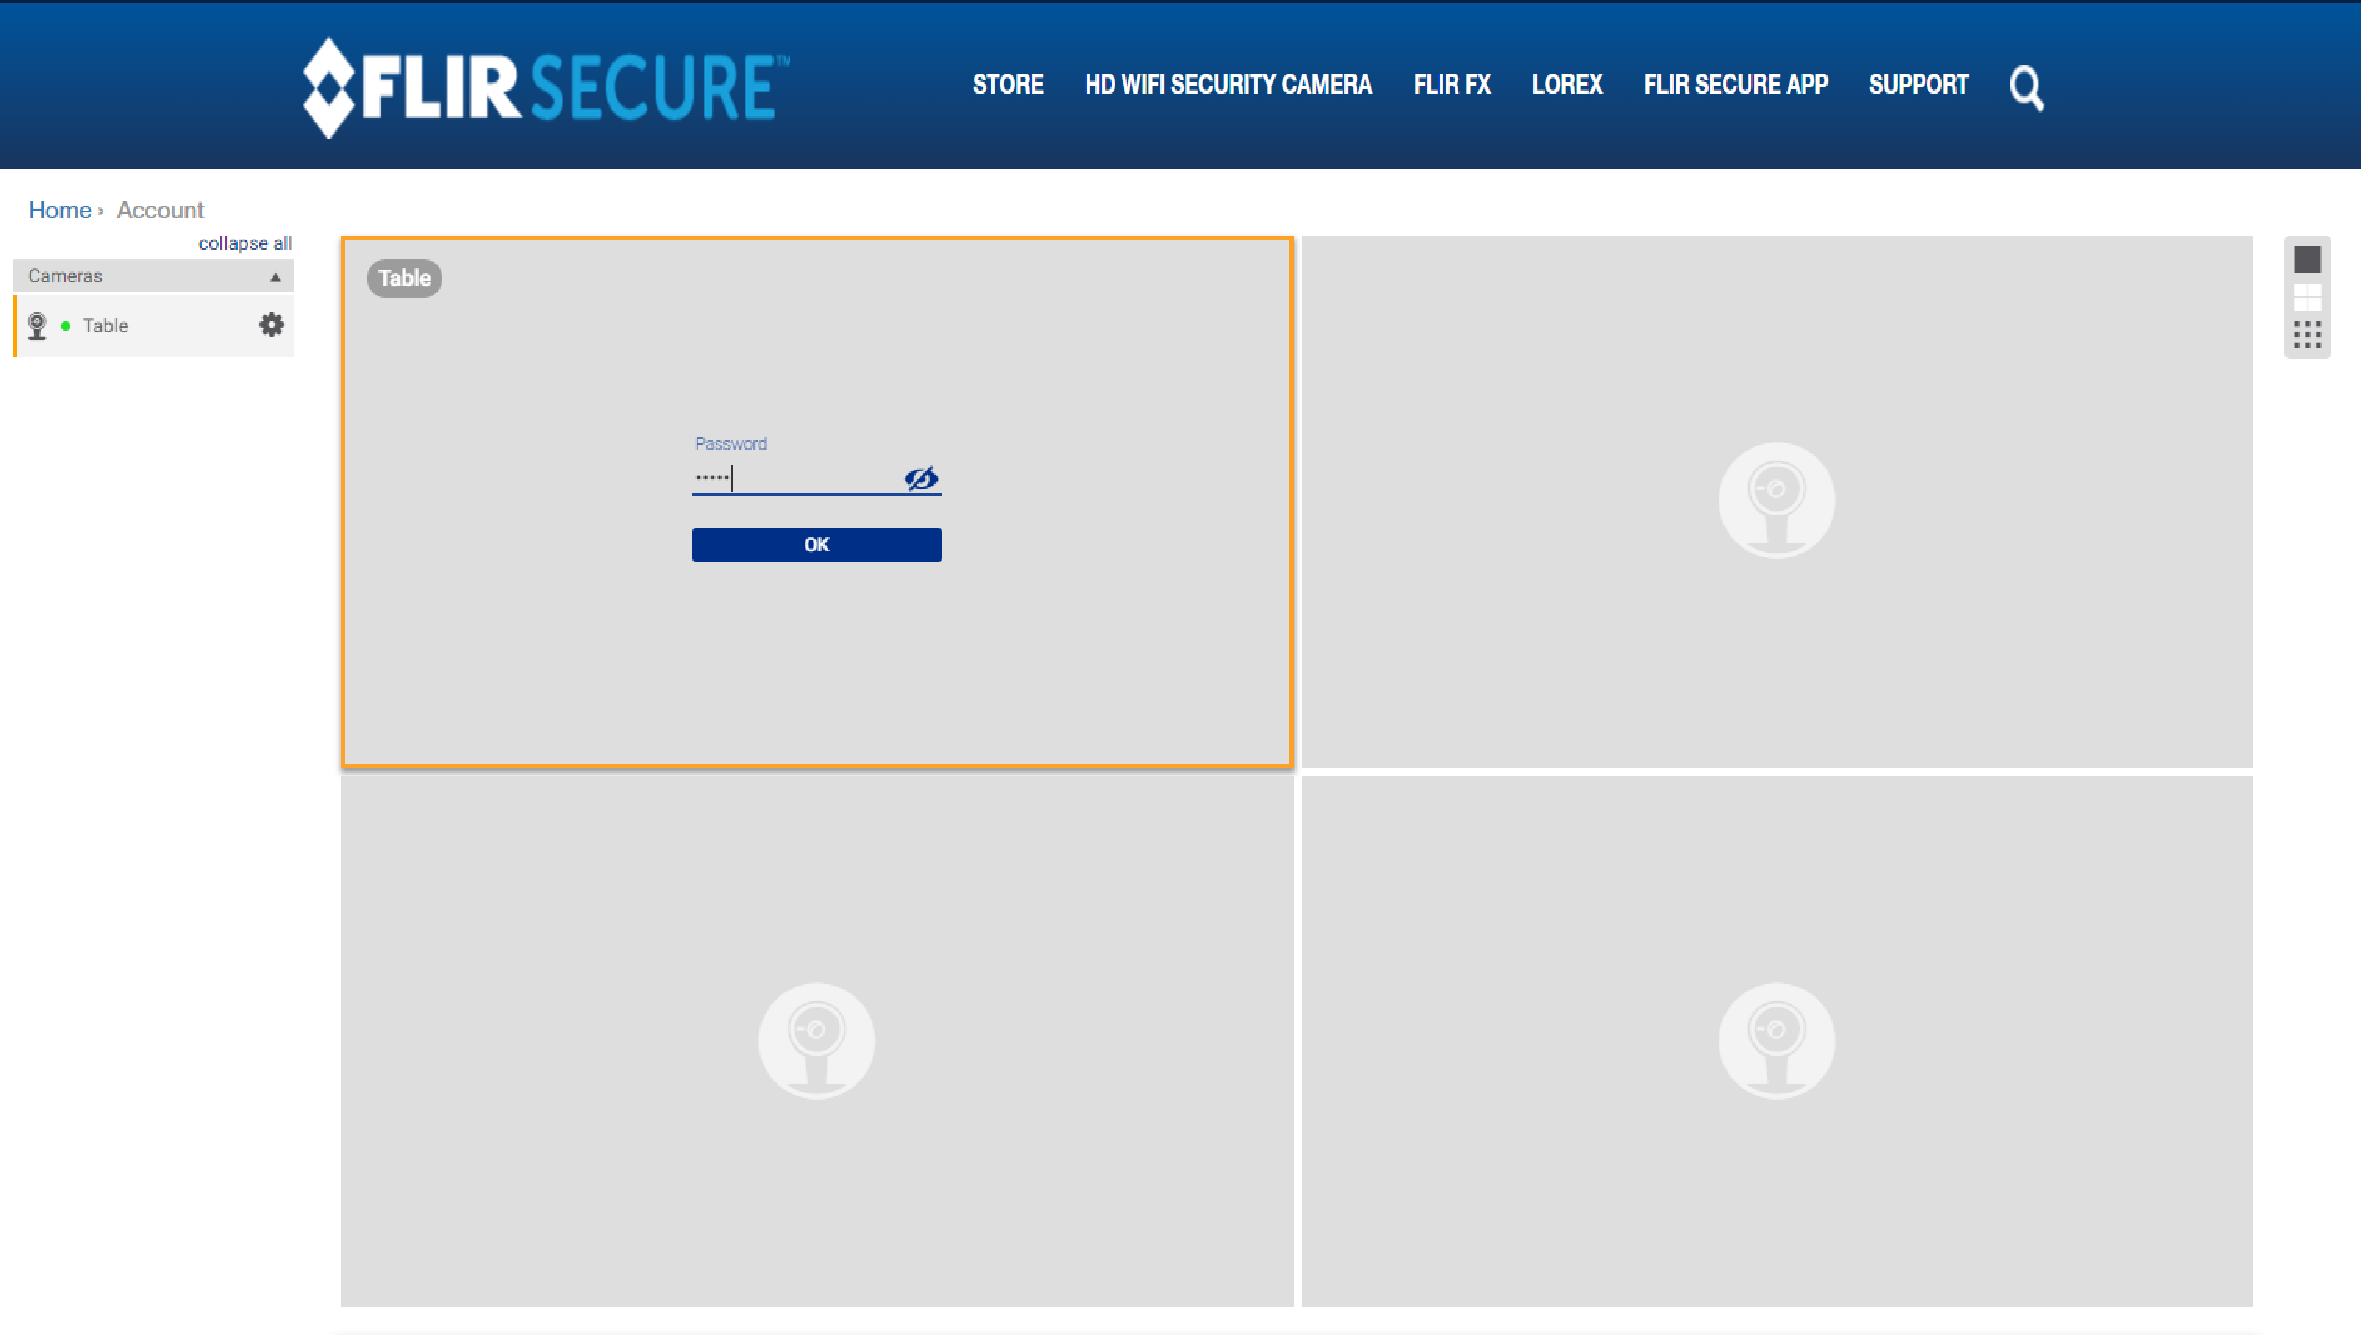
REMINDER: Refer to your user manual for your default HD WiFi camera or DVR / NVR system password. Click here to browse for downloads and documentation for your product.
You can now view live video from you HD WiFi camera or DVR / NVR system in the FLIR Secure web portal.
The FLIR Secure web portal interface:
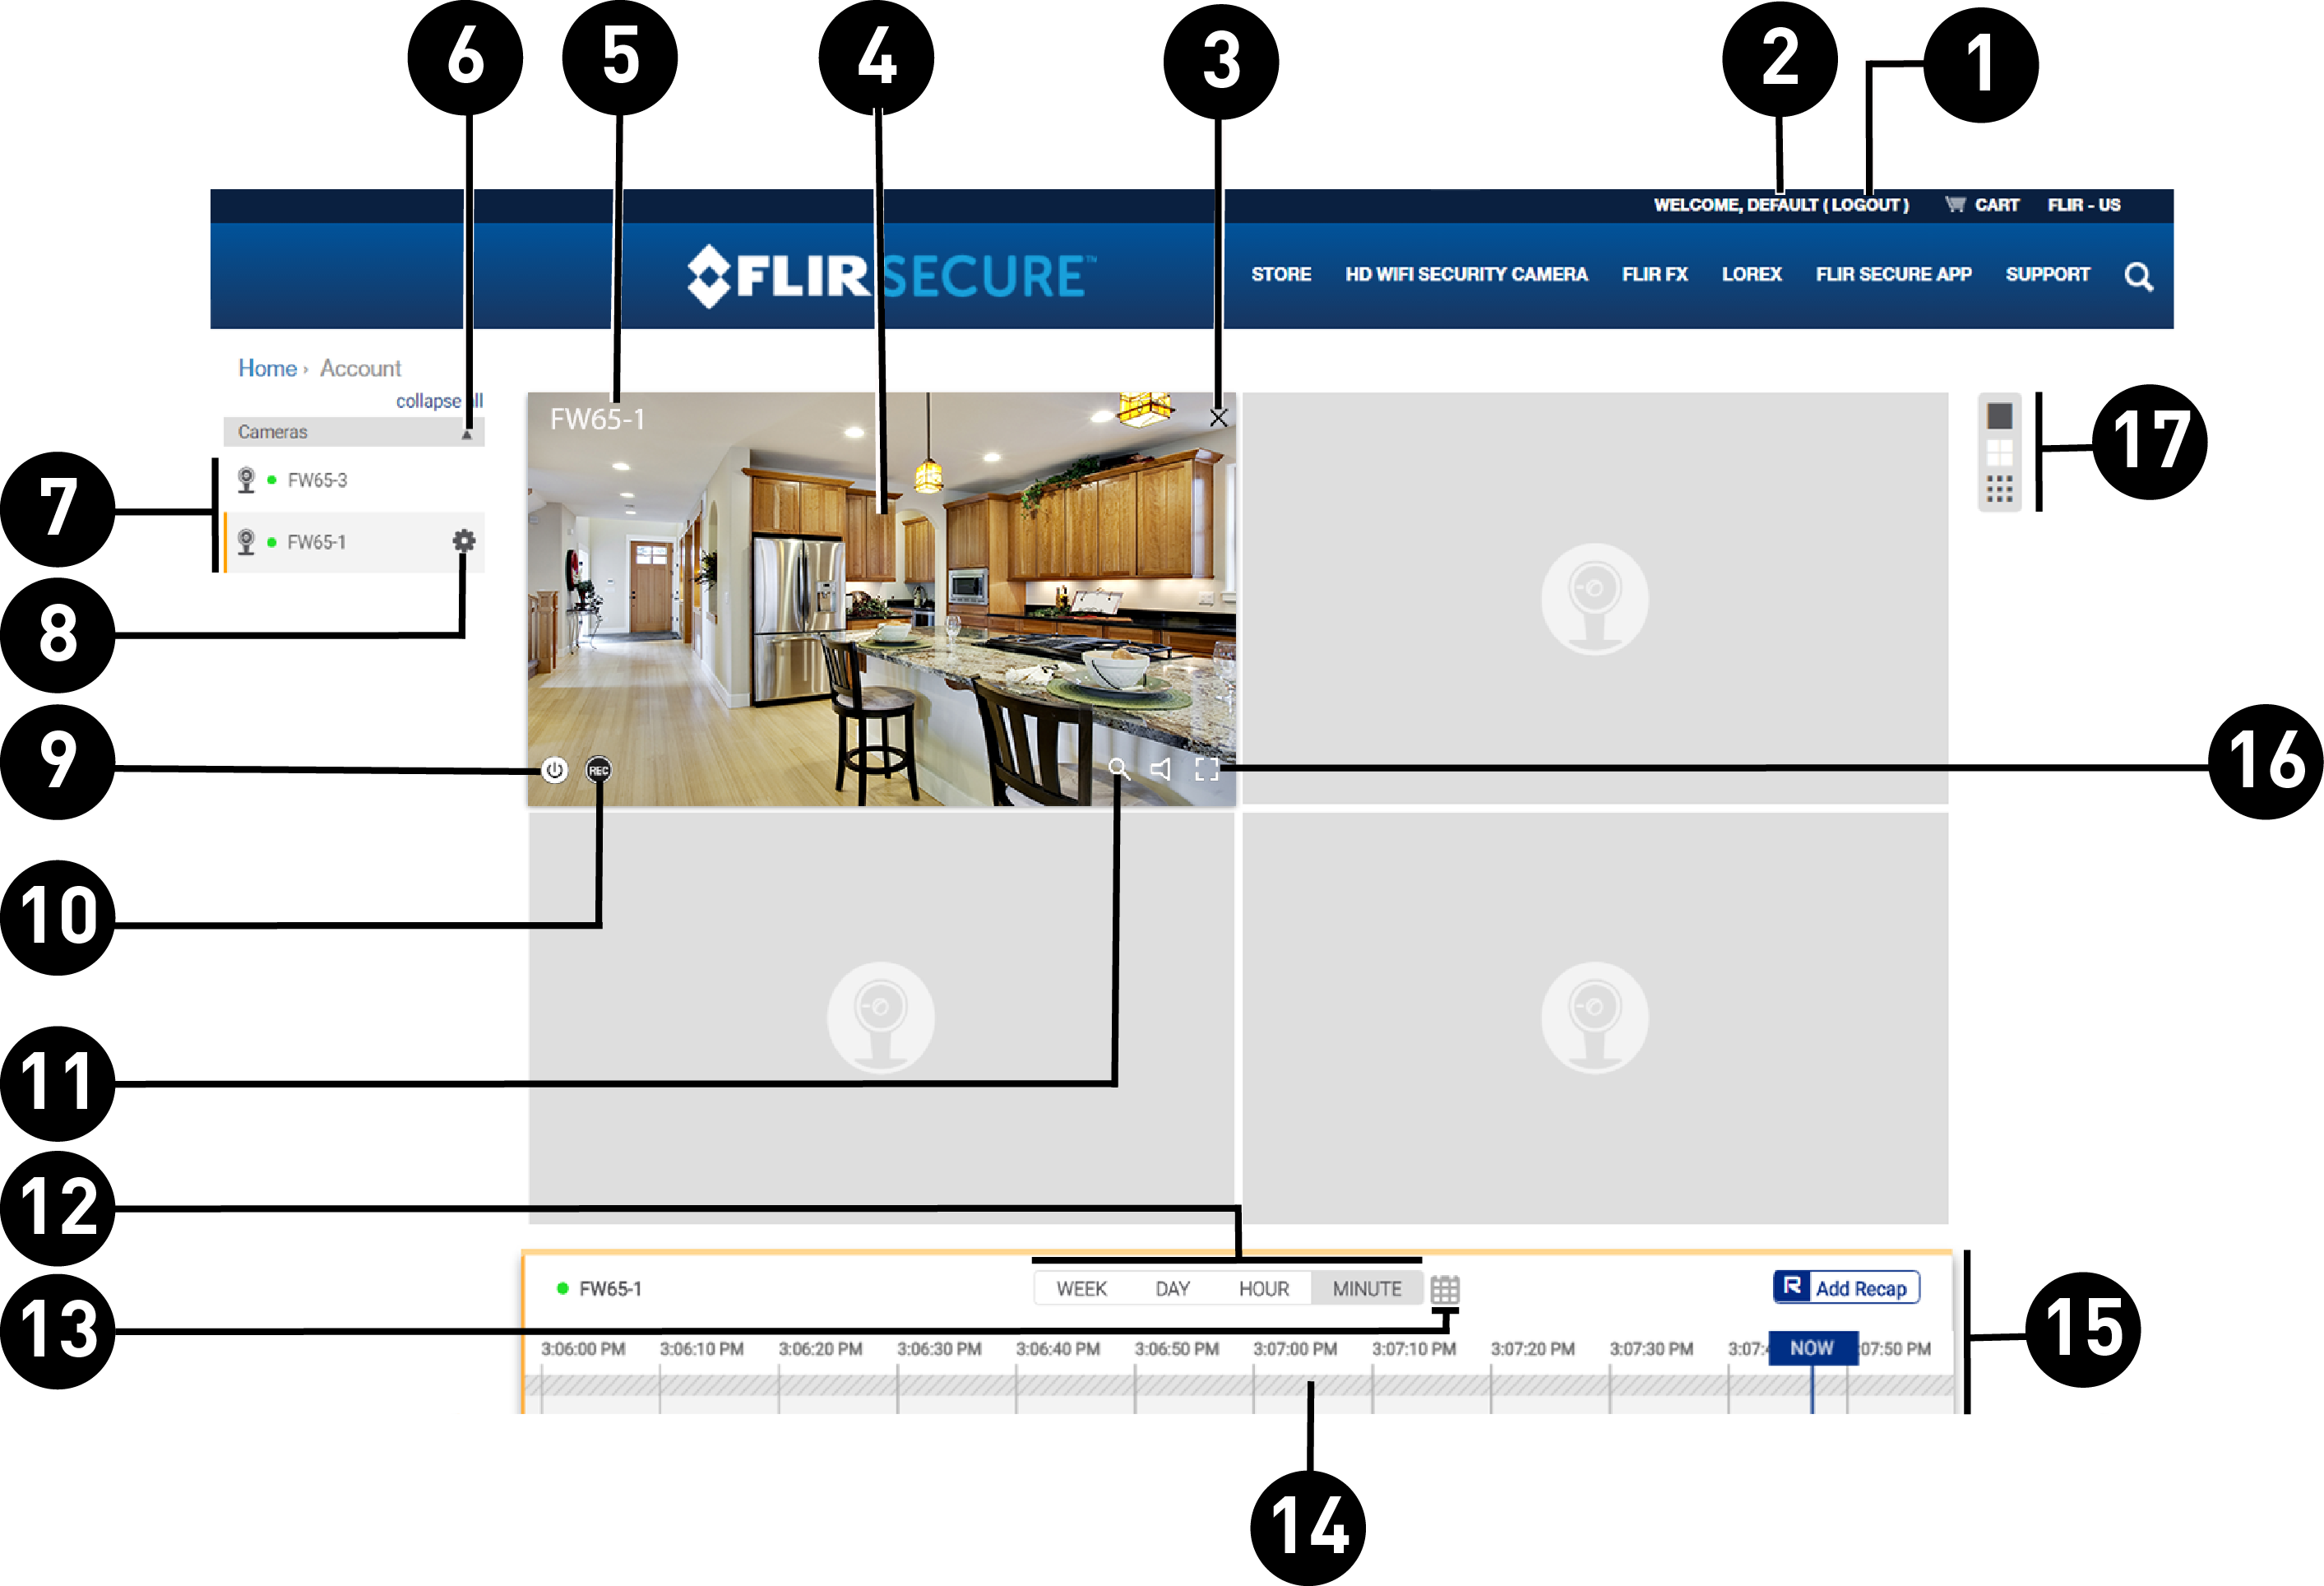
- Log out of your MY FLIR account.
- Click to view your account details.
- Click to stop your camera's live view.
- Live view
- Device name
- Click to view / hide all the devices associated with your FLIR Cloud account.
- Devices associated with your FLIR Cloud account.
- Click to open the settings menu.
- Click to disable live video, video recording, and push notifications. Click again to enable the disconnected camera.
- Click to start / stop manual recording.
- Click to Zoom in/out while your device is in live view.
- Time Scale
- Day Filter
- Timeline
- History tab
- Click to open full-screen mode.
- Click to select split-screen layout.