L-View Client Software: Connecting to your camera on PC
The L-View Client software is used to view playback or live video from an LNC Series camera on your PC.
Prerequisites:
- Connect your camera to a network by connecting it to your router using an Ethernet cable. Click here if you are connecting to your cameras via a WiFi network.
- Download and install the L-View Client software. Click here for more information on locating software downloads.
To connect to your LNC camera with a PC over a local network:
-
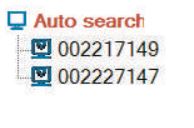
Launch the L-View Client software. It will automatically search for cameras connected to Local Area Network (LAN) and display each under the Auto search list by camera ID.

-
Double-click your camera ID from the Auto search list to connect the camera.
-
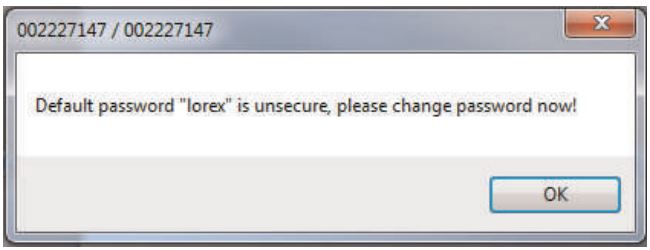
Enter the camera password and click OK. Refer to your user manual for your default password.
REQUIREMENT: If this is the first time connecting to the camera, you will be prompted to create a password.

-
Double-click the camera ID under Auto search again and enter the password that was created. The L-View Client software will connect to the camera and live video will be displayed.
You can also connect to your LNC camera over the Internet from outside a local network.
To connect to your LNC camera with a PC over the Internet:
-
Launch the L-View Client software and click the Add camera icon (
 ) next to Camera List.
 -
Enter the following information.
- Name: Enter a name for the camera being used.
- Cam ID: Enter the Cam ID printed on the camera.
- Password: Enter the camera password.
-
Click OK.
-
Double-click or drag the camera to a display screen to connect.
REMINDER: If the camera has been previously connected the image will display. If this is the first time connecting to the camera, the L-View Client software will prompt you to create a password for the camera.
-
Double-click the camera image to display.