AY41TR, AM41TK, AK41TK Series - Sensor Hub and Sensors: Lorex App Setup
The Sensor Hub and Sensors are standalone devices that detect movements around your property and get you notified via the Lorex App when motion is detected.
To receive notifications, you must first connect the Sensor Hub to the Lorex App (via Wi-Fi network), then connect the Sensors to the Hub (via Bluetooth), and finally link the Sensors to any compatible camera or recorder so that when the Sensor detects motion, the camera will also record a video.
How to add the Sensor Hub to the Lorex App
The first step of the process is to add the Sensor Hub to the Lorex App. The Hub is the bridge that connects all Sensors to the Lorex App.
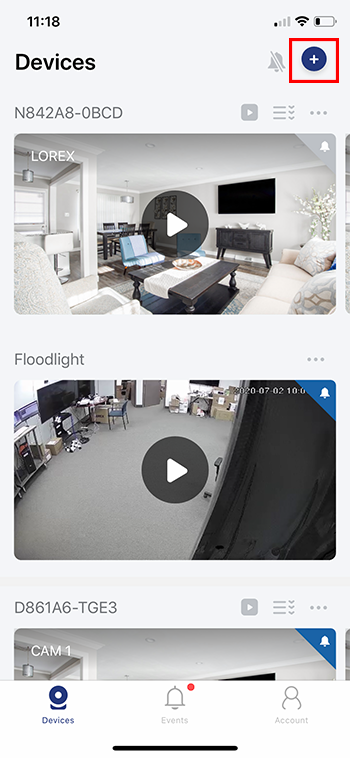
Step 1. Launch the Lorex App app, then tap the plus (+) sign.
Step 2. Locate the QR code at the back of the Sensor Hub, scan it, then tap Next.
If your camera is unable to scan the QR code, you may have to enter the Device ID manually.
Once the app identifies your device, tap Next.

Step 3. Before you continue, please ensure the following:
- Your device is powered on.
- You hear the chime, and the LED on the Sensor Hub is pulsing blue.
- You have the name and password of your Wi-Fi network.
Then, tap Next to proceed.
Step 4. You will now be asked to join the device Hotspot. Tap Join to proceed.
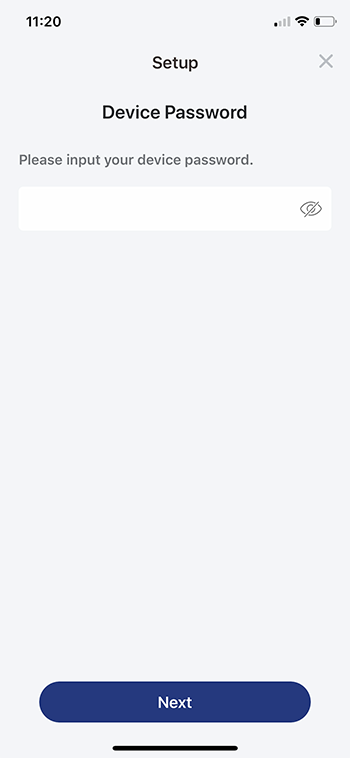
Step 5. Now create a strong password for the Sensor Hub, then tap Next.
Step 6. Select your Wi-Fi network, enter the password, then tap Connect.
Congratulations! You have successfully connected the Sensor Hub to the Lorex App.
The next step will guide you through adding Sensors to the Hub.
How to add the Sensors to the Hub
Once you have added the Hub to the Lorex App, you can now start adding Sensors to the Hub.
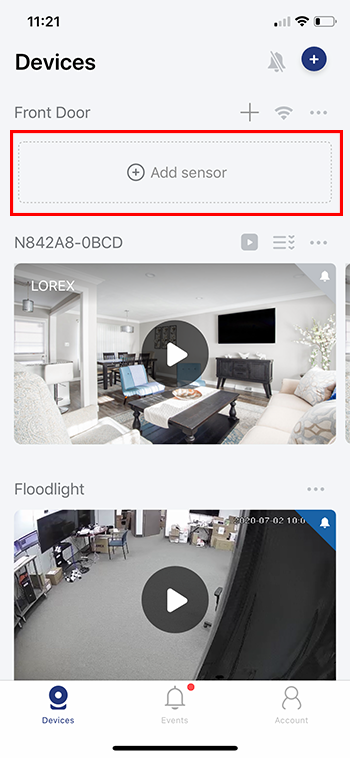
Step 1. At the top of the screen, tap Add Sensor.
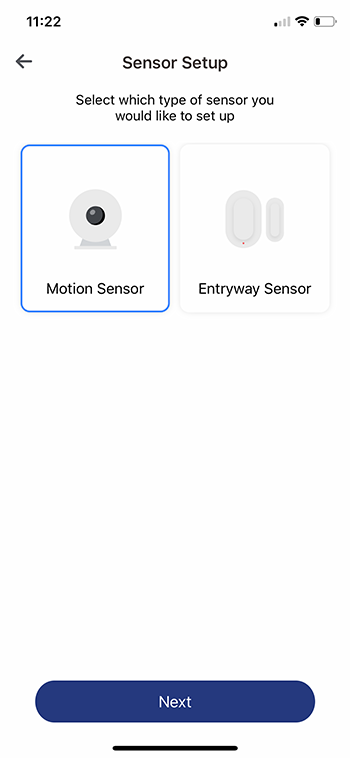
Step 2. Select the Sensor you want to add to the Hub: Motion Sensor or Entryway Sensor (Door / Window Sensor), then tap Next.
In this example, I am adding a Motion Sensor to the Hub.
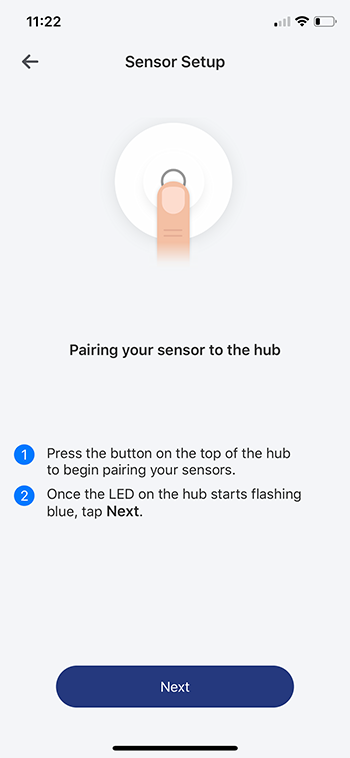
Step 3. Press the pairing button on the Hub. Once the LED on the Hub starts flashing blue, tap Next.
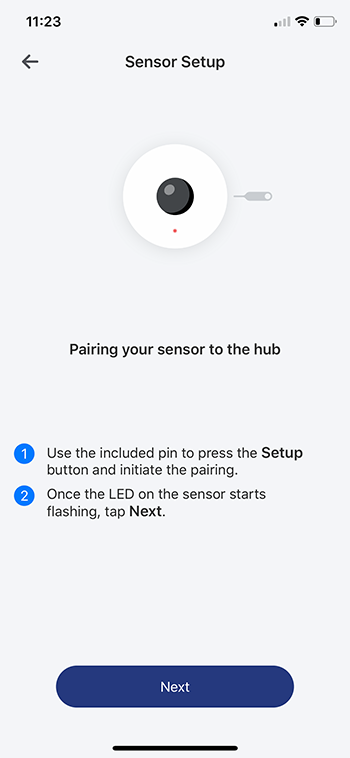
Step 4. Using the included pin, press the Setup button on the Sensor. Once the LED on the Sensor starts flashing, tap Next.
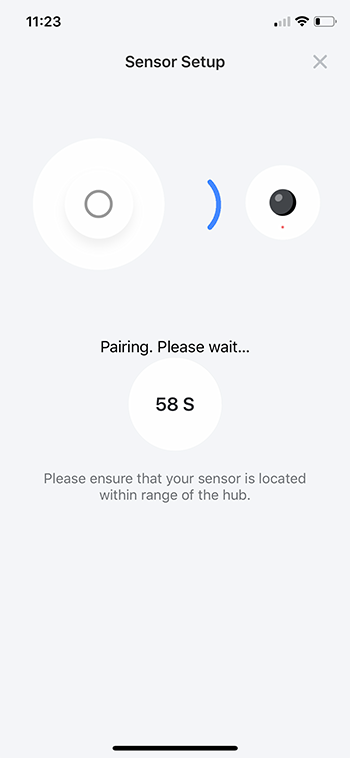
The selected Sensor will pair to the Hub right away. Pairing may take up to 60 seconds. Please ensure that your Sensor is located within the range of the Hub.
Step 5. Now, create a name for your device, then tap Complete.
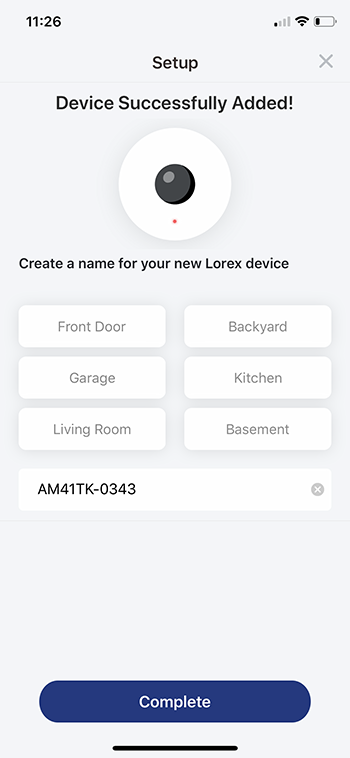
Congratulations! Your Sensor is now connected to the Hub.
The next step will guide you to link your Sensors to any compatible camera or recorder on the Lorex App.
How to link the Sensors to a camera or recorder
Once you have added the Hub to the Lorex App, and the Sensors to the Hub, now you can start linking the Sensors to a camera or recorder that you have previously connected to the Lorex App. The advantage of this setup is that when your Sensors detect movements, your camera will also record a video.
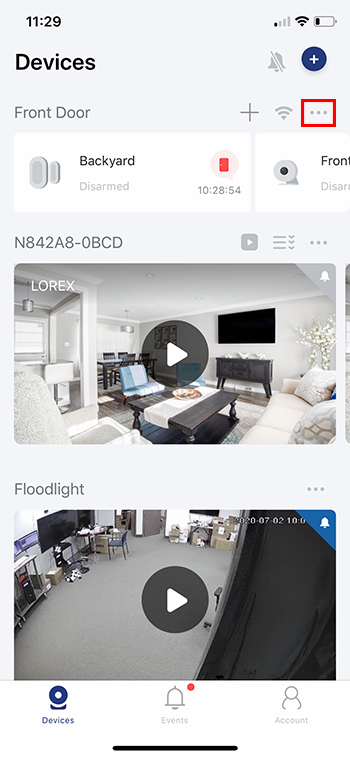
Step 1. Right above the Sensors, tap the More icon, represented by three (3) dots (...).
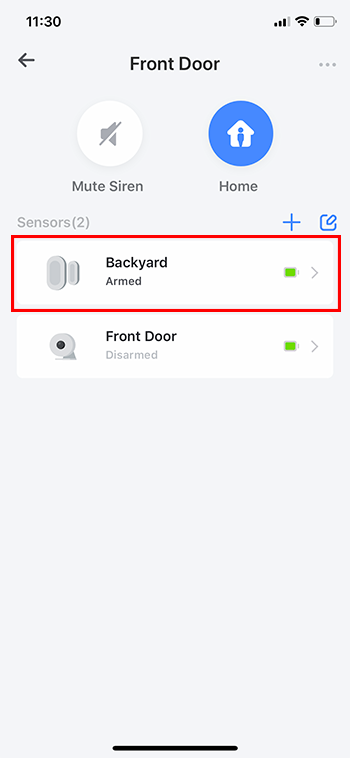
Step 2. Now, select the Sensor you want to link to a camera or recorder.
In this example, I am linking the Door / Window Sensor, which I have previously named Backyard.
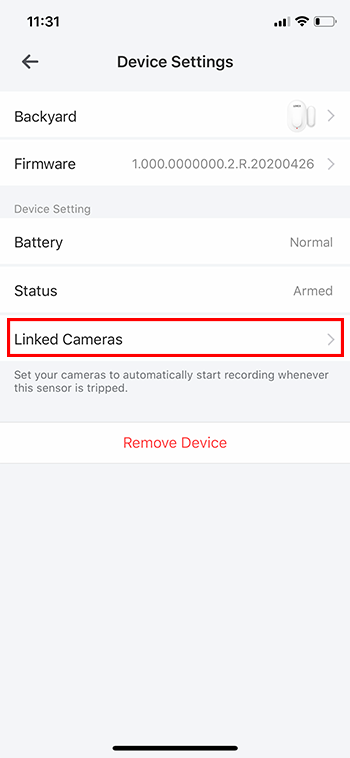
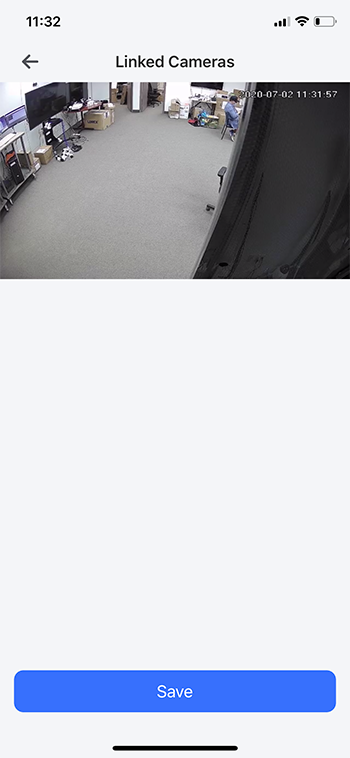
Step 3. Then, tap Linked Cameras to open the list of connected cameras and recorders.
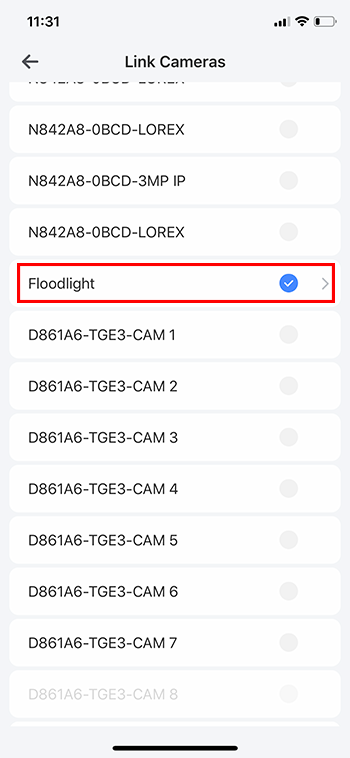
Step 4. From the list of connected devices, select a camera or recorder that you want the Sensor to be linked to.
In this example, I am linking the Sensor to a Floodlight camera.
Step 5. Then, at the bottom of the screen, tap Save.
Congratulations! You have successfully linked your Sensor to a camera or recorder.