Lorex netHD Stratus Client Software: Setting up remote access on PC / Mac
Lorex netHD Stratus Client software allows you to access your NVR system remotely using a PC / Mac.
The following instructions require you to access your system using the Lorex netHD Client software and a PC / Mac.
Prerequisites:
-
Connect your DVR with an Ethernet cable to a router and ensure it has Internet access.
-
Download and install Lorex netHD Stratus Client software. Click here for more information on locating software downloads.
-
Record your NVR device ID or the IP address / Dynamic Domain Name System (DDNS).
REMINDER: Your NVR IP address / DDNS is located in your NVR System Information or Network menu. Click here for instructions on accessing the System Information screen.
To set up remote access:
-
Launch Lorex netHD Stratus Client software on your computer to open the Add NVR Wizard window.
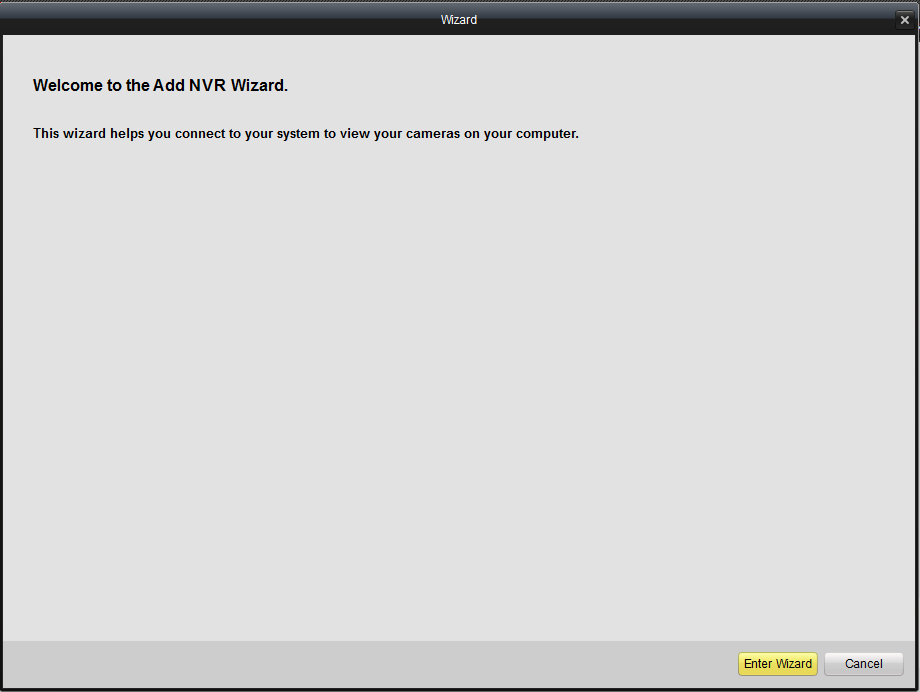
TIP: If the wizard does not open, click Help > Open Wizard.
-
Click Enter Wizard > Add to open the Add Device window.
-
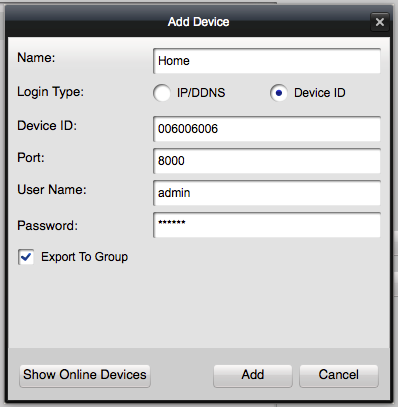
Enter a Name of your choice to identify your NVR.
-
In the Login Type field, select Device ID if you have a functional device ID on your system, or select IP/DDNS.
REMINDER: If you are not able to connect to your NVR using the device ID on the same network, you may be experiencing a NAT Loopback issue. Routers recognize and connect to devices via IP address. To connect your system from the same network, use the IP address of the NVR.
-
Enter your Device ID or IP Address / DDNS.
-
Enter your Port value (default: 8000).
-
Enter your User Name. Refer to your user manual for your default username.
-
Enter your Password. Refer to your user manual for your default password.
-
Click Add > Next.
IMPORTANT: If this is your first time connecting to the system, you will be asked to change the password. Input a new 6 digit or character password and click Yes.
-
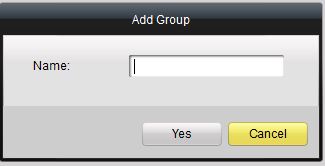
Click Add to open the Add Groups window.
-
Enter a name for your Group, then click Yes > Next.
-
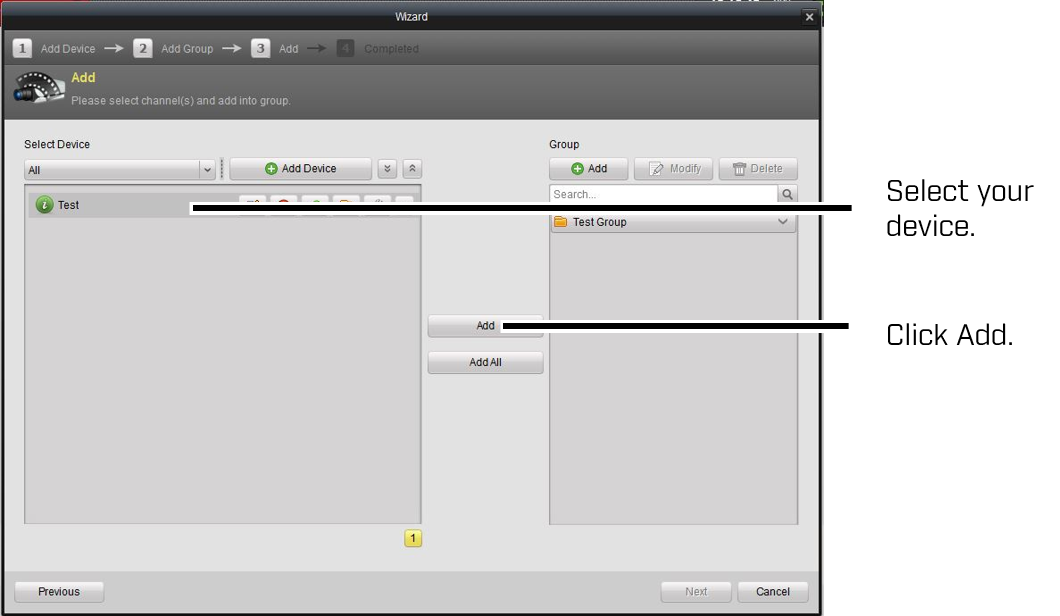
Select a channel you would like to add to your Group, then click Add.
-
Click Next > Finished to open the Main View window.
REMINDER: If Main View does not open, click Control Panel > Main View to open the Main View window, then drag the NVR folder to the display area to view your camera live feed.