LHA / LNK Series: Using Picture Search to locate and back up snapshots
You can use Picture Search to view a list of snapshots taken with Auto Capture or Manual Capture and back up snapshots to a USB flash drive (not included).
Prerequisites:
- To back up snapshots, you must connect a USB flash drive a USB port on the DVR / NVR.
- You must have enabled Auto Capture or Manual Capture and configured a Picture Schedule.
The following instructions require you to access your system using your DVR / NVR and a monitor.
To search for snapshots:
-
In the taskbar, click the Main Menu icon (
 ), and then click Search > Picture.
-
In the Date field, select a date.
-
In the Time fields, enter a start time and end time for your Picture Search in 24-hour format.
-
In the Channel drop-down, select a channel to search. Select All to search all channels.
-
In the Type drop-down, select the snapshot type.
-
Click Search to display snapshots matching the search criteria.
To back up your snapshots:
-
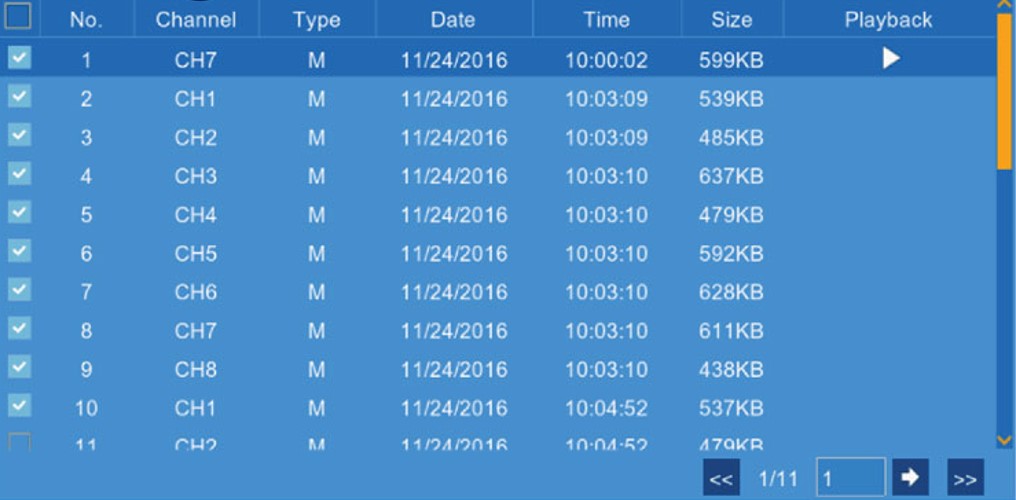
Click the checkbox next to the snapshots you want to back up to the USB flash drive.

- Double-click a snapshot to display a preview.
- Right-click on the preview to close the preview.
- Click the Back icon (
 ) / Next icon (
 ) in the bottom-right corner of the menu to browse pages of snapshots.
-
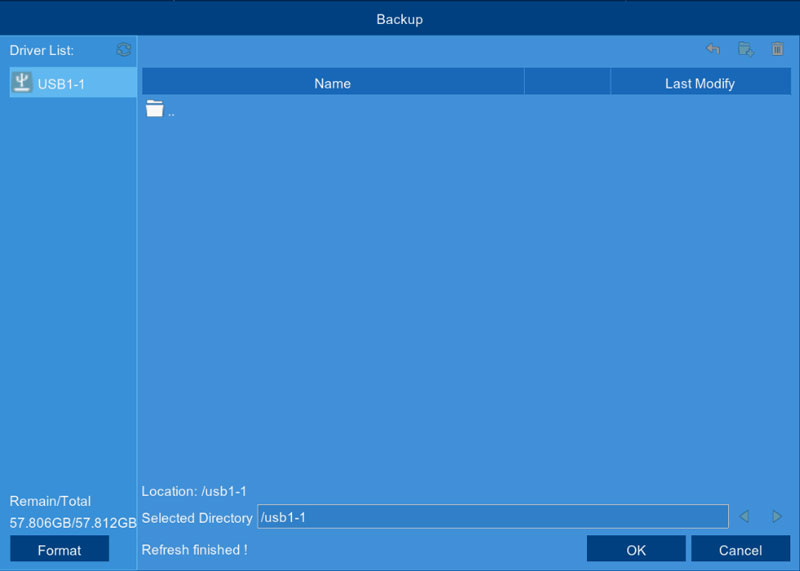
Click Backup to open the Backup menu.

-
In the Driver List, select the folder you want to back up the snapshots to.
-
Click OK to start the backup. The bottom of the window displays the backup progress bar.

-
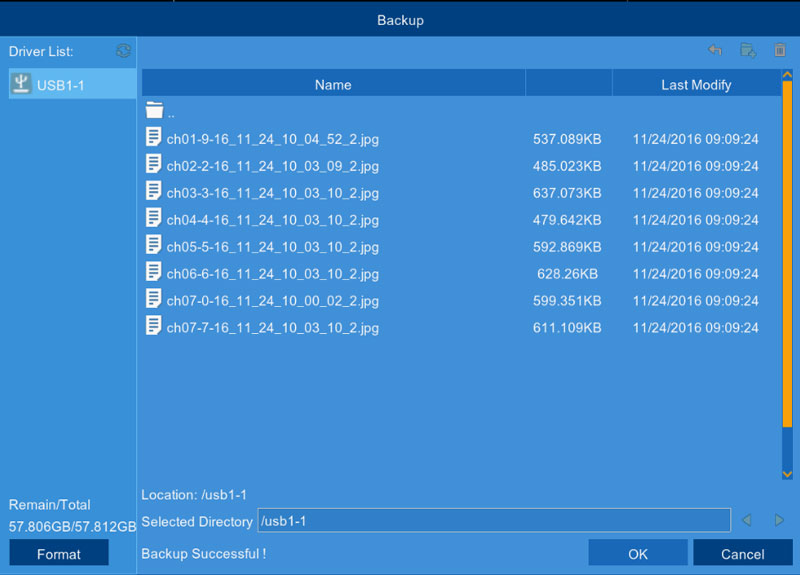
Once complete, your backup files display in the Backup menu.
