ACH20-1B Thermal Monocular Camera: Using the App
Take some time to learn about using your thermal monocular camera through the companion Thermal Connection app.
Table of Contents:
Pre-requisite: To begin accessing your camera from the app, ensure your camera is connected to the app.
Live View Settings
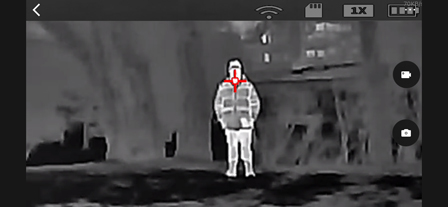
The Live View is the first screen you will see when your camera connects to the app. It includes the following features:
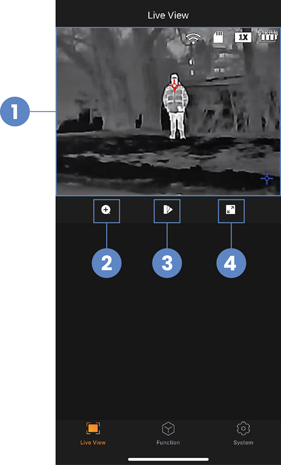
- Camera's Live View footage
- Digital Zoom
- Color Palette
- Full-screen display (record images & videos)
Digital Zoom
Zoom in on a certain part of your camera’s image to magnify details.
- From Live View, tap
 .
. - Tap your preferred zoom range.
- Tap OK to save.
Color Palette
Select your camera’s color palette for enhanced visual representations of thermal imaging.
- From Live View, tap
 .
. - Tap on one of the following color palettes:
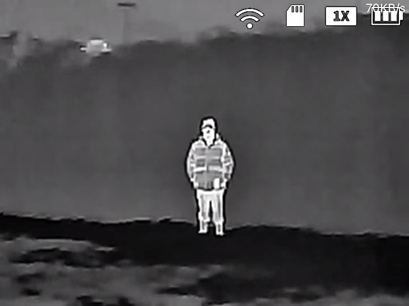
- Whitehot: The most used palette, Whitehot displays warmer objects in white and then cooler objects in black, and everything in between in a shade of gray.
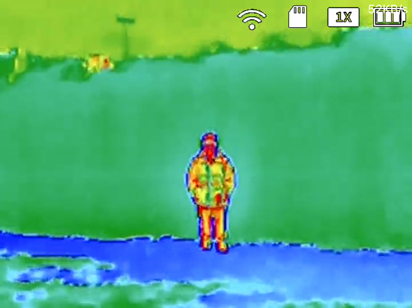
- Ironrow: This is a general-purpose palette that uses a variety of colors to showcase heat distribution. Red indicates the highest temperature, with an array of colors cooling off to blue as the temperature in the image decreases.
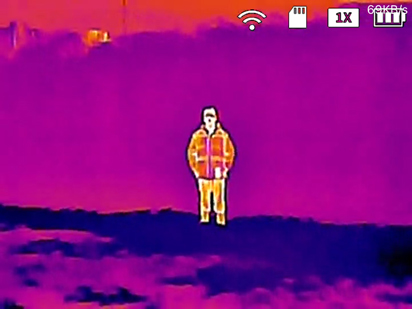
- RainBow: Best suited for scenes with minimal heat change, RainBow uses different colors to display slight temperature changes despite low-contrast conditions.
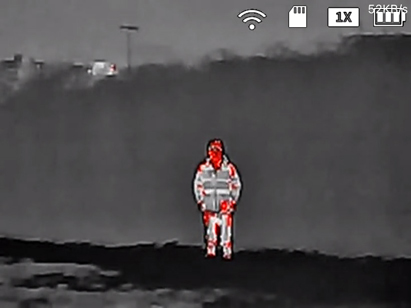
- Warning: Based off Whitehot, Warning showcases warmer objects in a white color with heat indicated by a vibrant red. This palette was designed to quickly detect body heat.
- Tap OK to save.
Note: Not all color palettes are suited for every situation. Select the option that best shows the thermal differences for your specific application.
Record Images & Videos
- From Live View, tap
 .
. - Tap the screen to display the capture and record icons.
- To capture images: Tap
 .
. - To start or stop recording videos: Tap
 .
.
Note: A blinking red dot next to a recording timer on the left of the screen indicates that your camera's recording.
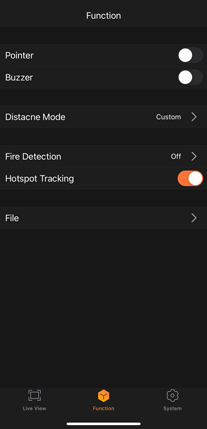
Function Settings
Enable some of your camera's features, like the laser pointer, fire detection, or track hot and cold points.
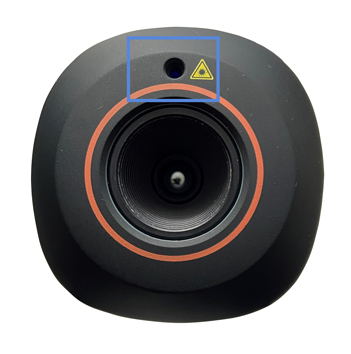
Laser Pointer
Use the laser pointer to illuminate a point of interest with a bright spot of colored light.
 LASER RADIATION:
Exposure to laser light can cause significant damage to the eyes. Never look into the laser beam directly or through a piece of optical equipment.
- Tap Function.
- Tap to enable Pointer. The laser pointer automatically turns on.
After a few seconds, the laser pointer automatically turns off.
Fire Detection
Detect fires in your camera’s image with a red box surrounding the source. If enabled, you can set the fire detection sensitivity from high to low.
- Tap Function.
- Tap Fire Detection.
- Tap on one of the options:
- Off: Fire detection is turned off.
- High, Middle, or Low Sensitivity: Your camera will detect fires based on the sensitivity level.
- Tap OK to save.
Hot & Cold Points
Track the hottest and lowest temperatures in your camera’s image at the same time. If enabled, your camera’s image will display a red target tracking the hottest point and a blue target tracking the lowest point.
- Tap Function.
- Tap to enable Hotspot Tracking.
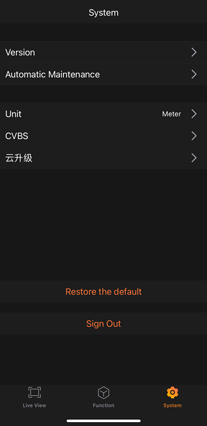
System Settings
Customize your camera's system settings or sign out.
Automatic Sleep Mode
Select how long your camera waits before entering sleep mode.
- Tap System.
- Tap Automatic Maintenance.
- Tap Auto Sleep Setting.
- Tap on one of the options:
- Off: Automatic sleep mode is turned off.
- 10 Mins, 5 Mins, 3 Mins, 1 Min: Your camera will automatically go into sleep mode after the selected time. Shorter times preserve your camera’s battery life.
- Tap OK, then Save.
Automatic Shutdown
Select how long your camera waits before turning off.
- Tap System.
- Tap Automatic Maintenance.
- Tap Auto Power OFF Setting.
- Tap on one of the options:
- Off: Automatic shutdown is turned off.
- 60 Mins, 30 Mins, 10 Mins, 5 Mins: Your camera will automatically shutdown after the selected time.
- Tap OK, then Save.
Change Measurement Unit (Meter to Feet)
Change your camera's measurement unit.
- Tap System.
- Tap Unit.
- Tap on one of the options:
- Meter: Measure using a metric unit.
- Feet: Measure using an imperial unit.
- Tap OK to save.
Sign Out
Disconnect your camera from the app by signing out of the app.
- Tap System.
- Tap Sign Out.
- Tap OK.
Restore to Default Settings
Restore your camera’s menu and app settings to its factory default settings.
- Tap System.
- Tap Restore the Default.
- Tap OK.
If you are experiencing any issues with your camera, see the article Troubleshooting for tips & solutions.