N910 Series - 4K+ Ultra HD 12MP 16 Camera Capable NVR: Frequently Asked Questions
The following frequently asked questions (FAQs) provide more information about your N910 Series Recorder. Where applicable, the FAQ includes links to articles where you may find more information.
General
What is an NVR?
A Network Video Recorder (NVR), also simply referred to as a recorder, is a specialized device designed for the purpose of recording and storing video footage from IP (Internet Protocol) cameras. Unlike traditional Digital Video Recorders (DVRs) that work with analog cameras, NVRs are compatible with digital, network-based cameras.
Can all four E910AB and/or E910DD cameras playback simultaneously in the Main Stream (M)?
No, the recorder cannot playback four 12MP cameras simultaneously in the Main Stream (M). The recorder can playback two of the E910AB and/or E910DD cameras at the same time in the Main Stream (M), and the other two cameras will switch to playback in the Sub Stream (S).
How many channels does my recorder have?
Your NVR has 16 channels. 8 wired PoE ports for IP wired cameras and 8 Wi-Fi channels for Lorex Fusion Wi-Fi cameras. For best performance, it is recommended that up to 8 cameras are connected if you are using Smart Motion Detection.
What cameras are compatible with my recorder?
To find a list of Lorex cameras that are compatible, refer to your recorder's Product Compatibility Chart.
What is the maximum hard drive storage space?
The hard drive capacity is up to 16 TB (SATA).
Can I expand the HDD to a higher capacity?
Yes, the system is compatible with WD hard drives purple label for surveillance purposed. To expand the HDD, you must replace the original internal HDD. Your NVR will automatically recognize the new HDD.
How do I connect my IP Wired Camera to my recorder?
Lorex IP Wired Cameras utilize Power over Ethernet (PoE) to transmit both data and power through a single Ethernet cable. Connect your camera to your NVR either by directly linking it to the NVR's PoE ports or by using a PoE switch (switch not included).
You have the option to purchase a 4K CAT5e Cable for IP Cameras.
Can I connect my IP Wired Camera to my recorder using a PoE Switch?
Yes, you can connect your camera to your recorder using a PoE switch (switch not included). By employing Power over Ethernet (PoE) technology, the PoE switch facilitates the transmission of both data and power over a single Ethernet cable. Connect your camera to the PoE switch, and then connect the switch to your recorder.
You have the option to purchase a Lorex 8-Port ePoE Switch, or review the recorder's Product Compatibility Chart for a list of PoE switches that are compatible and available for purchase.
At 4K and 4K+, how many frames per second can my recorder support?
The live display speed has a maximum of 480fps NTSC/400fps PAL. The recording resolution is 12MP (16:9) and 4K+ (11.3MP 16:9), and the recording frame rate is 12MP (16:9) and 4K+(11.3MP 16:9).
How do I connect my Lorex Fusion Wi-Fi Camera to my recorder?
For detailed instructions, please consult the article "Lorex Fusion: Connect Your Wi-Fi Cameras and Accessories (N910 Series)".
How do I access my recorder from my computer?
- Connect your recorder to your network using an Ethernet cable.
- Find your recorder's IP address on the Info screen.
- Launch your web browser (e.g., Chrome, Firefox, Edge).
- Type your recorder's IP address in the browser's address bar and press Enter.
- Enter your admin username and password on the recorder's login page.
Is a Matter-enabled Smart Home Hub necessary for configuring Matter on the recorder?
Yes, a Matter-enabled Smart Home Hub is essential for the setup of Matter on your recorder.
Matter integration can extend to various devices, including Apple TV, Alexa Echo 3rd Gen, Google Nest Hub, and even smartphone apps.
What should I do if my recorder fails to connect with a third-party app that supports Matter?
If you encounter difficulties setting up your recorder with a third-party app that supports Matter, follow the step-by-step guidance provided in the "N910 Series: Matter" article for assistance.
What happens if my recorder is removed from connected third-party apps that support Matter?
If your recorder is removed from one of the connected apps, rest assured that it can still be controlled through other connected apps.
If, however, your recorder is removed from all connected apps, you can resolve this by setting it up again, which involves enabling the Matter Pairing Mode.
How do I access my recorder's version information?
- Quickly press the Info/Panic button located on the front of your recorder.
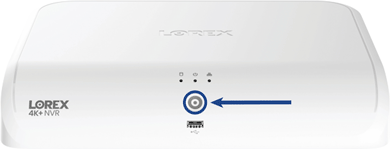
- Or, from the Live View display, right-click to open the Quick Menu, then click Info.
How do I trigger panic mode to simultaneously activate sirens and warning lights on all cameras?
Hold the Info/Panic button for 3 seconds to activate sirens and warning lights on all connected deterrence cameras; they will automatically deactivate after 10 seconds.
Can I use my Wi-Fi camera on a different network than my recorder?
Lorex Wi-Fi cameras can be added to the Lorex app and used as standalone devices. This means they do not necessarily need to be on the same network as your recorder. However, if your intention is to connect your Lorex Fusion Wi-Fi Camera to your Lorex Fusion Recorder, it is important to note that, in this case, they both need to be on the same network.
Recorder Settings
How do I change the system password for the administrator account?
- From the Live View display, right-click to open the Quick Menu, then click Main Menu > Users > User.
- Click the modify icon next to the account you want to change the password for.
- Configure the following:
- Modify Password: Check to modify password.
- Old Password: Enter the current password.
- New Password: Enter the new password you want to use for the system.
- Confirm Password: Re-enter the new password.
Note: Passwords for the system must be a minimum of 8 characters, and must include at least 2 of the following character types: lowercase, uppercase, numeric, and special characters.
- Click OK.
Note: Please read "How to Change or Reset Your Recorder's Password (Compatible with Lorex App) for instructions on changing your recorder's password.
How do I enable audio on my camera?
For detailed instructions, please consult the article "N910 Series: Connecting Audio".
How do I enable offline notifications?
Offline notifications refer to an alert that is sent to you when a camera goes offline. Please follow the steps below to configure this feature.
- From the Live View display, right-click to open the Quick Menu, then click Main Menu.
- Click Events, then Warning. Click the Network tab from the side panel.
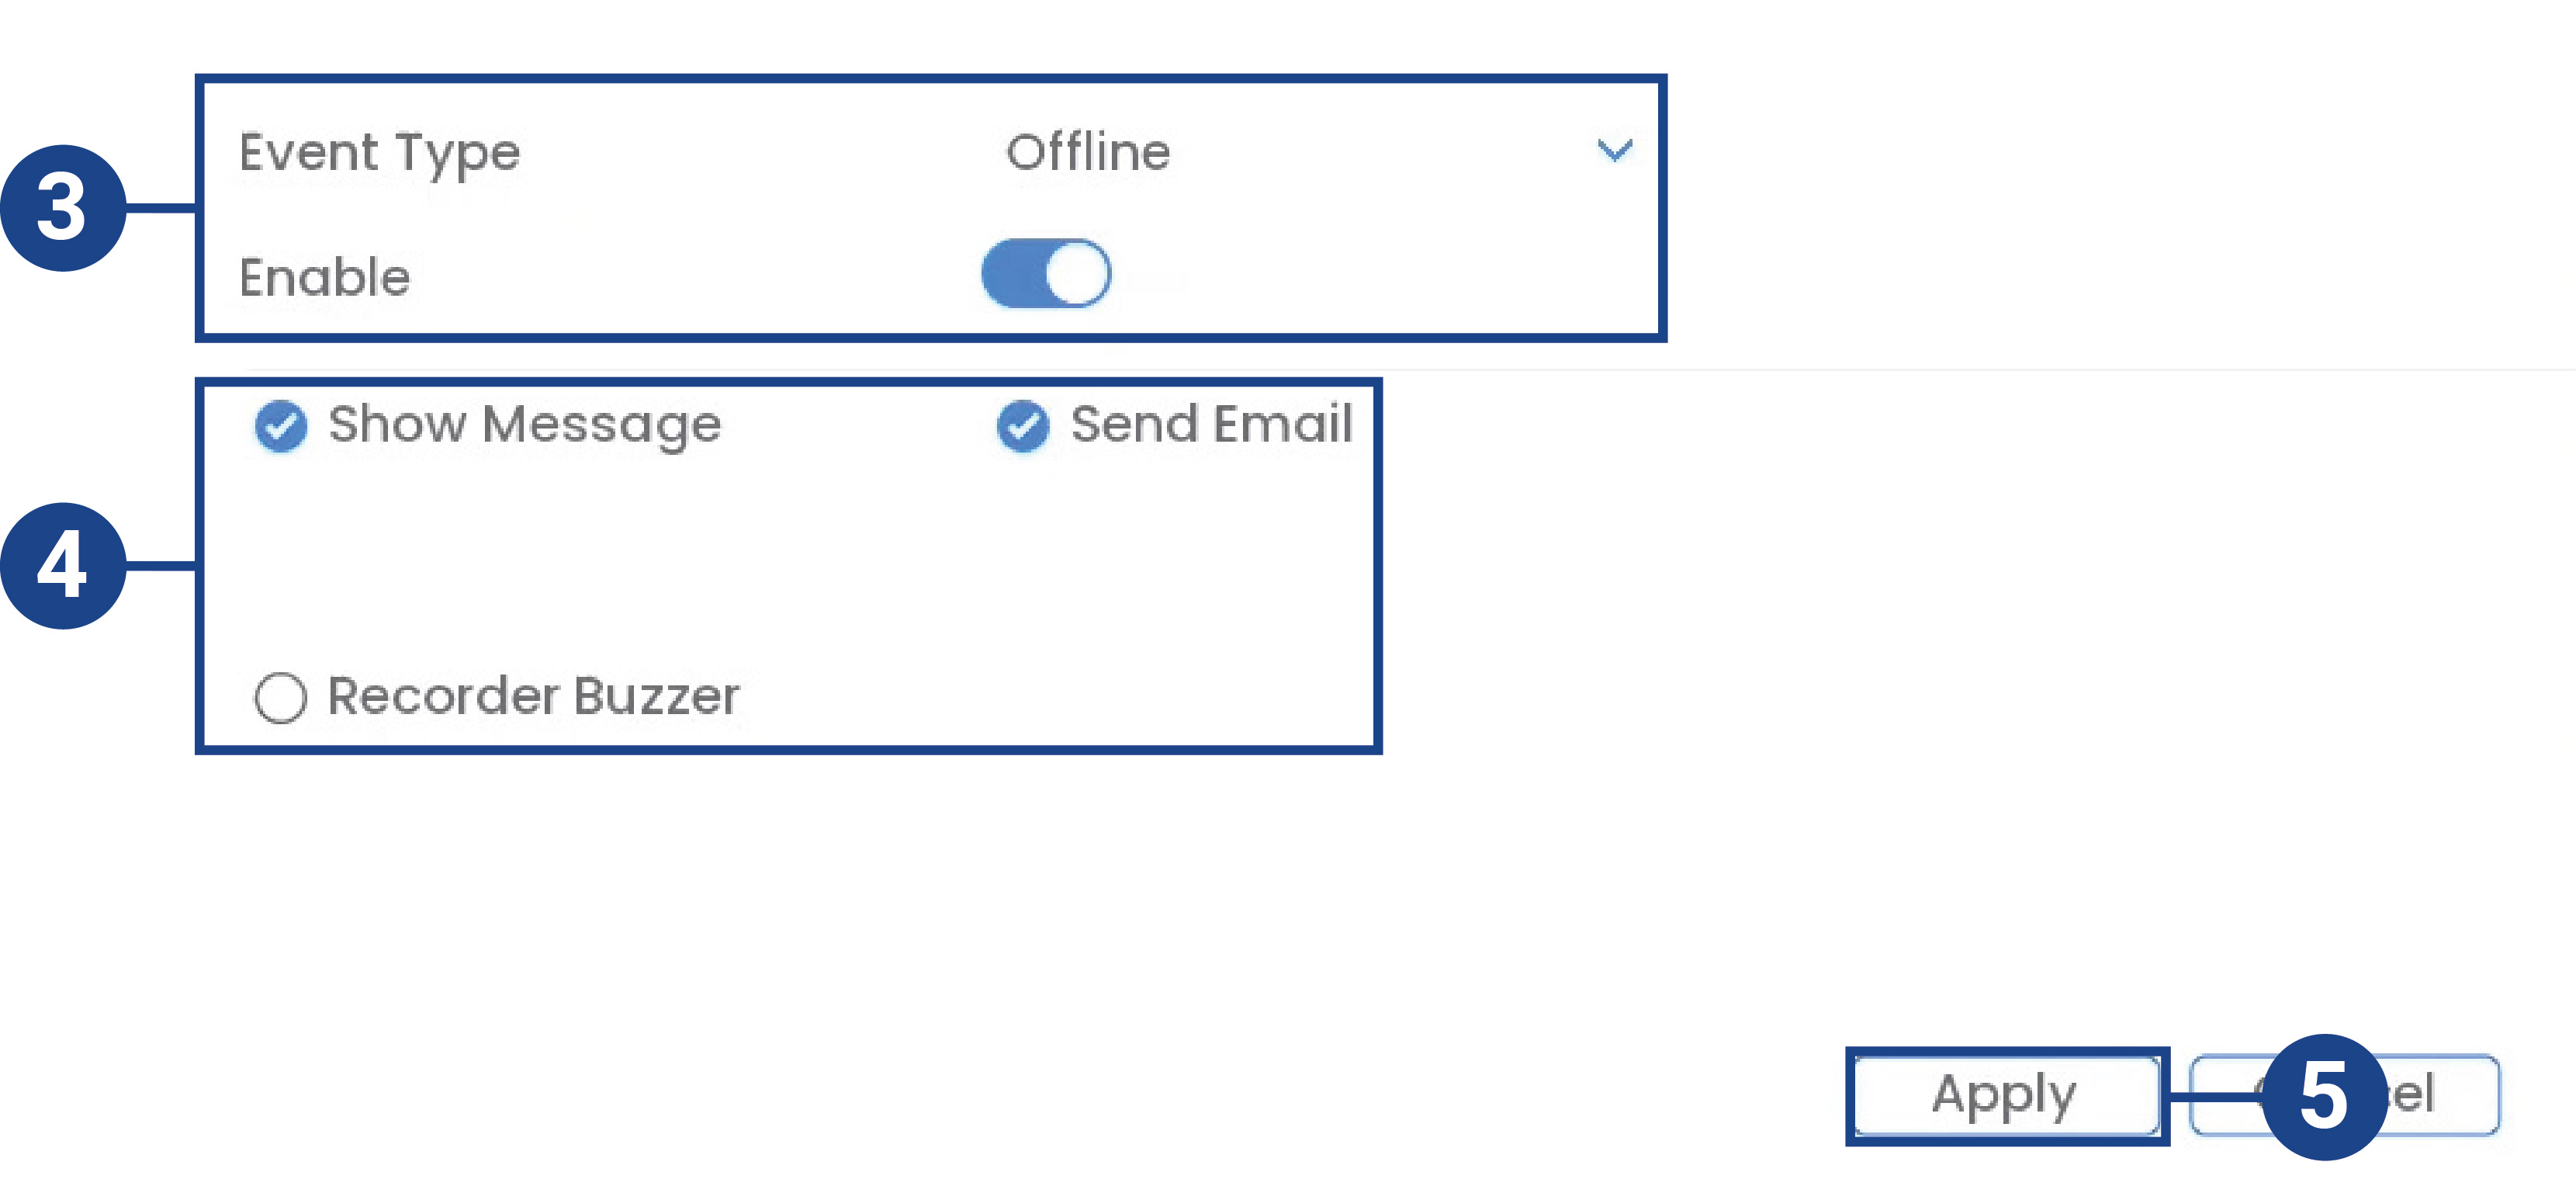
- Under Event Type, select the event type you would like to configure. Check Enable to activate the selected warning.
- Offline: The system is offline and not connected to the network.
- Configure the following for the selected event type:
- Show Message: Check to show a pop up message when the selected event occurs.
- Send Email: Check to enable email alerts. You must configure email alerts before you will be able to receive them, see 26.6.5 Configuring Email Alerts, page 135 of your recorder's manual.
- Recorder Buzzer: Check to activate the system buzzer.
- Click Apply to save changes.
How do I backup footage on a USB Drive?
The following instructions come from the N910 Recorder Manual.
Note: You can save video recordings from your system to a USB flash drive. Ensure you format new drives before backing up video (see 13.1 Formatting the USB Flash Drive, page 46 in the N910 recorder manual for details).
To back up video:
- From the Live View display, right-click to open the Quick Menu, then click Main Menu.
- Click System, then Backup.
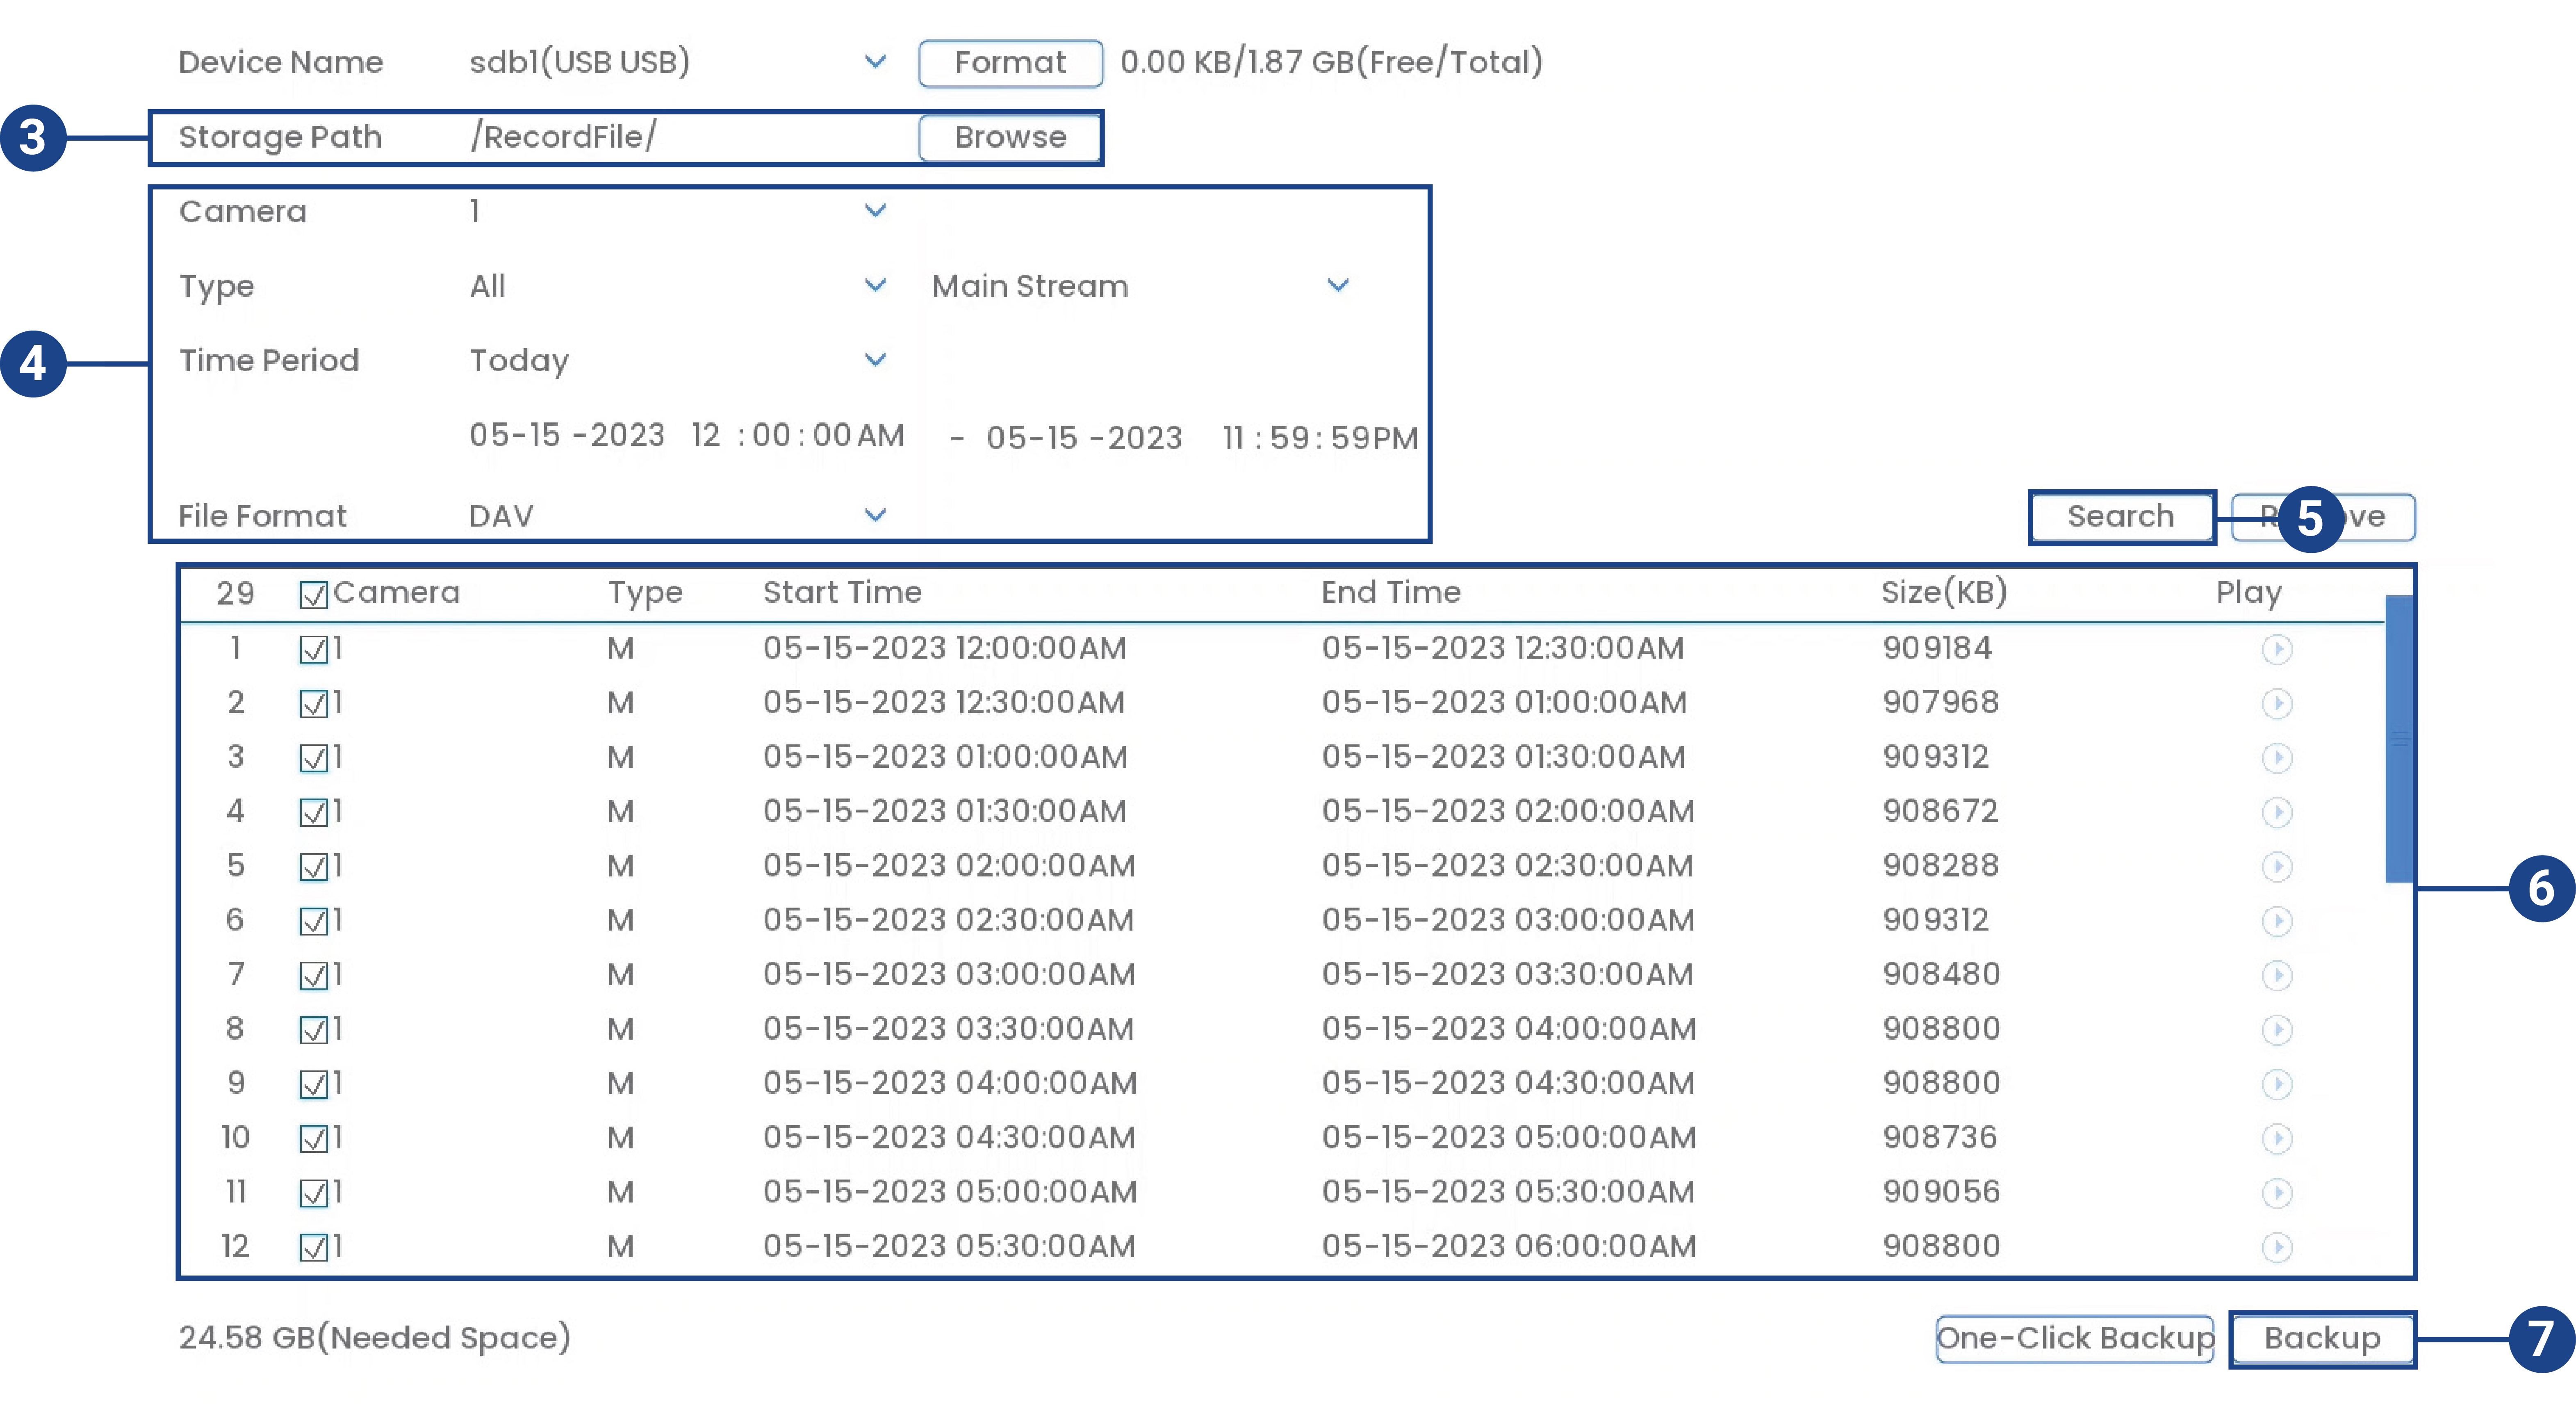
- Click Browse to select the USB backup device and the folder to save your backup files to.
- Configure the following: • Camera: Select the channel you would like to search or select All to search all channels. • Type: Select the recording type you would like to search for or select All to search all recording types. • Time Period: Select the time period for your search, then enter the start and end time. • File Format: Select DAV to save files to save files to .dav format. You can playback . dav files using the Lorex video player software. To download the Lorex video player software, go to your recorder’s product support page. Visit help.lorextechnology.com and search your recorder’s model number.
- Click Search. A list of files that match your search criteria appears.
- Check files you would like to backup.
- Click Backup.
Note: HD video files saved on the system may take up a large amount of disk space. The size of video files selected and the amount of free space on your USB device is shown on screen.
How do I update my recorder's firmware?
For Automatic Firmware Upgrades:
Firmware upgrades provide enhanced functionality. The system will automatically check for firmware upgrades if it is connected to the Internet.
- From the Live View display, right-click to open the Quick Menu, then click Main Menu > System > Update & Reset > Upgrade.
- Ensure Automatically Check for Updates is checked. If it was previously unchecked, click OK to save changes.
- Click Check for Updates to check for a newer firmware version. If a newer version is found, click Upgrade Now to upgrade the system.
For Manual Firmware Upgrades:
Prerequisite: Save the .bin firmware file for your unit onto a USB flash drive (not included), and connect the drive to one of the system’s free USB ports.
- From the Live View display, right-click to open the Quick Menu, then click Main Menu > System > Update & Reset > Upgrade > System Upgrade.
- Click on the .bin firmware file for your recorder.
- Click Start.
How do I change my recorder's smart plan?
Please refer to the article "N910 Series - 4K+ Ultra HD 12MP 16 Camera Capable NVR: Change Your Recorder's Smart Plan."
How do I restore my recorder to default settings?
- From the Live View display, right-click to open the Quick Menu, then click Main Menu > System > Update & Reset > Default.
- Click either Default to restore all settings except for network and user management or Factory Default to completely restore all system settings.
- Click Apply to begin restoring to default settings.
How do I set the date and time?
It is highly recommended to set the date and time when first setting up your system. Inaccurate time stamps may render your footage unusable for court evidence.
- From the Live View display, right-click to open the Quick Menu, then click Main Menu > System > Settings > Date & Time.
- Under System Time, enter the current time and select your time zone. Then, click OK.
- Check the DST check box to enable auto Daylight Savings Time updates.
Note: You can adjust the Start Time and End Time for Daylight Savings Time if the default settings do not match your region.
- (Optional) Check the NTP check box to sync your system with an Internet time server. Click Manual Update to instantly update the time.
Note:
- Your system must have a constant connection to the Internet to use NTP.
- (Advanced) You can enter a custom NTP server under Server Address and Port, and you can select how often the system will sync the time using Interval (hours).
- Click Apply to save changes.
How do I change the monitor resolution (display)?
- From the Live View display, right-click to open the Quick Menu, then click Main Menu > Information > Display.
- Under Resolution, select the correct resolution for your monitor.
- Click Apply to save changes. Click OK again to restart the system using the new resolution.
If your screen goes black when your NVR is connected:
Please only use monitors with 1080P resolution or higher, otherwise your camera footage may not display on screen. If your monitor's screen turns black upon connecting your recorder, you'll need to match your recorder's resolution with that of your monitor. To do so:
- Power your camera off by unplugging it from its power source.
- Plug the camera back in and (if a power button is supported) power on your camera while holding down the panic button. Your camera will then automatically adjust to 1080P resolution.
How do I manually record from the recorder?
- From the Live View display, right-click to open the Quick Menu. Click Manual Control > Record.
- Under Main Stream, Sub Stream, or Display Stream, select how the system will record for each channel:
- Auto: Main Stream/Sub Stream/Display Stream recording will follow the recording schedule.
- Manual: The system will record the Main Stream/Sub Stream/Display Stream continuously as long as this option is checked.
- Off: The system will not record the Main Stream/Sub Stream/Display Stream for this channel. This option is not recommended.
- Under Snapshot, select On to enable snapshot recording on each channel. Or, select Off to disable snapshot recording.
- Click Apply to save changes.
How do I change the Smart Plan (smart motion detection plan)?
To use a smart motion detection feature on your camera, it must be enabled in the Smart Plan settings from your system.
- From the Live View display, right-click to open the Quick Menu, then click Main Menu > Events > Event Settings > Smart Plan.
- Select the camera you would like to enable a smart plan feature on.
- Select the icon for a smart feature that you want to enable:
- Face Detection (Note: The face detection feature cannot be used with other smart plans and is deactivated by default. To activate the face detection feature, please disable all other smart plans.)
- Heat Map
- Person & Vehicle Detection, Safeguard, and Active View
- Animal Detection, Active View
- Package and Envelope Detection
Note: When a smart feature icon is enabled, it turns blue. To disable it, simply select the respective smart feature icon again. Once disabled, the icon will appear white.
- Click Apply to save changes.
How do I pair warning lights to person and vehicle detection?
For detailed instructions, please consult the article "N910 Series: Using Your Camera's Warning Lights".
How do I change the siren on the camera?
For detailed instructions, please consult the article "N910 Series: Using Your Camera's Siren".
How do I set up face detection?
For detailed instructions, please consult the article "N910 Series: Face Detection".
How do I set up email alerts?
For detailed instructions, please consult the article "N910 Series: Setting up Email Alerts".
How do I set the Hard Disk Drive (HDD) to overwrite?
When the hard disk drive is full, the system will overwrite the oldest recordings by default. This is recommended, as it makes sure that your system will continue to record without any input from you. You can also set the system to stop recording once the hard disk drive is full.
- From the Live View display, right-click to open the Quick Menu, then click Main Menu > System > Storage > Basic.
- Ensure HDD Full is set to Overwrite to overwrite the oldest recordings when the hard disk drive is full.
Note: Select Stop Record for the system to stop recording when the hard disk drive is full.
- Click Apply to save changes.
How do I change the camera's name?
- From the Live View display, right-click to open the Quick Menu, then click Main Menu > Devices > Device Settings > Channel Name.
- Click a camera to enter a custom name.
- Click Apply to save changes.
App Settings
The following instructions are for the Lorex App.
How do I enable local recording?
- Tap
 above your recorder's thumbnail.
 - Tap the ellipses (...) in the top right corner of the app.
- Tap
 to enable Local Recording.
How do I change the Time Zone?
- Tap above your recorder's thumbnail.
- Tap the ellipses (...) in the top right corner of the app.
- Select the Time Zone option.
- Select the Time Zone option again.
- Choose your time zone.
- Navigate back to the Time Zone page using the back arrow.
- Tap Save.
How do I enable Daylight Savings Time?
- Tap above your recorder's thumbnail.
- Tap the ellipses (...) in the top right corner of the app.
- Select the Time Zone option.
- Tap to enable Daylight Savings Time.
- If you want to change when the recorder switches to daylight savings time, tap the last list option.
- Tap Date to customize by date, or tap Week to customize by week.
- Tap Start Time to change the start time, and tap End Time to change the end time.
- Navigate back to the Time Zone page using the back arrow.
- Tap Save.
How do I enable Offline Notifications?
- Tap above your recorder's thumbnail.
- Tap the ellipses (...) in the top right corner of the app.
- Select the Notifications option.
- Tap to enable Offline Notifications.
How do I remove my recorder from the Lorex App?
- Tap above your recorder's thumbnail.
- Tap the ellipses (...) in the top right corner of the app.
- Select the Remove Device option.
- Confirm your choice by tapping Remove Device once again.